- Name
- Shortcode
- Deck
- Mode
- Development
- Start
- Card Selector
- Maximum number of visible cards in the selector
- Select a spread
- Card size
- Back of the card
- Open tabs in the result
- Show Positions
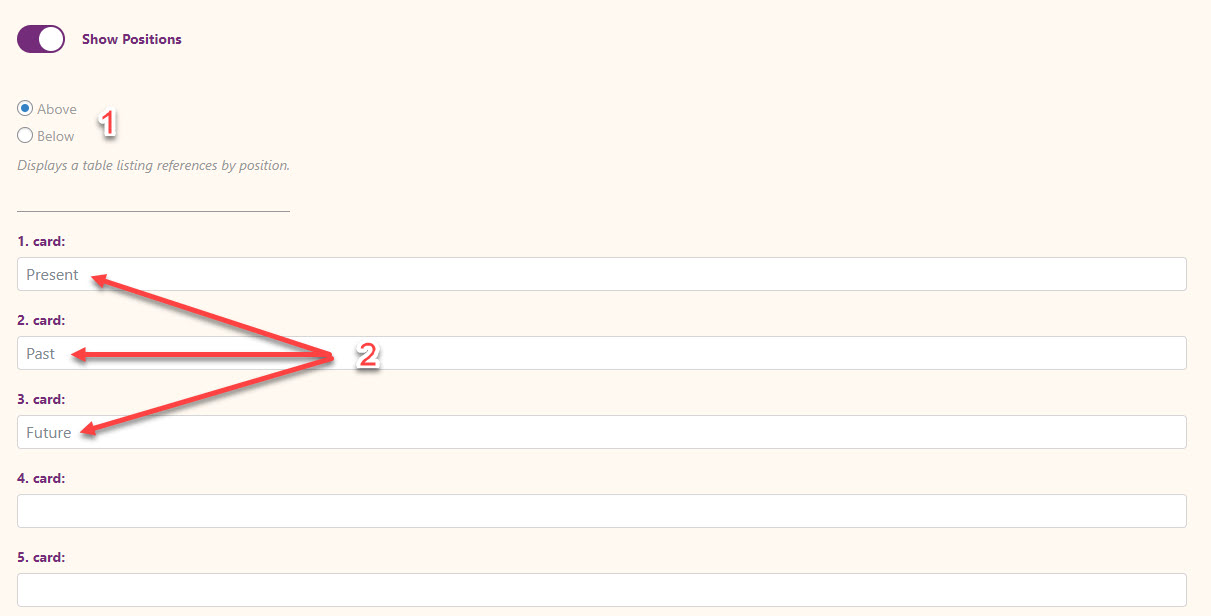
- Position Location & Labels
- CHANGE TEXTS
- Title
- Subtitle
- Position text
- Start button text
- Get a new reading text button
- Shuffle text
- COLORS
- Title color
- Subtitle color
- Button background-color
- Button Text Color
- Title color in the result
- Background color
- Background image
- Mix - Color Overlay
- SPACE
- Tarot Margin Top
- Tarot Margin Bottom
- Tarot Width
- Spread Margin Bottom
Name
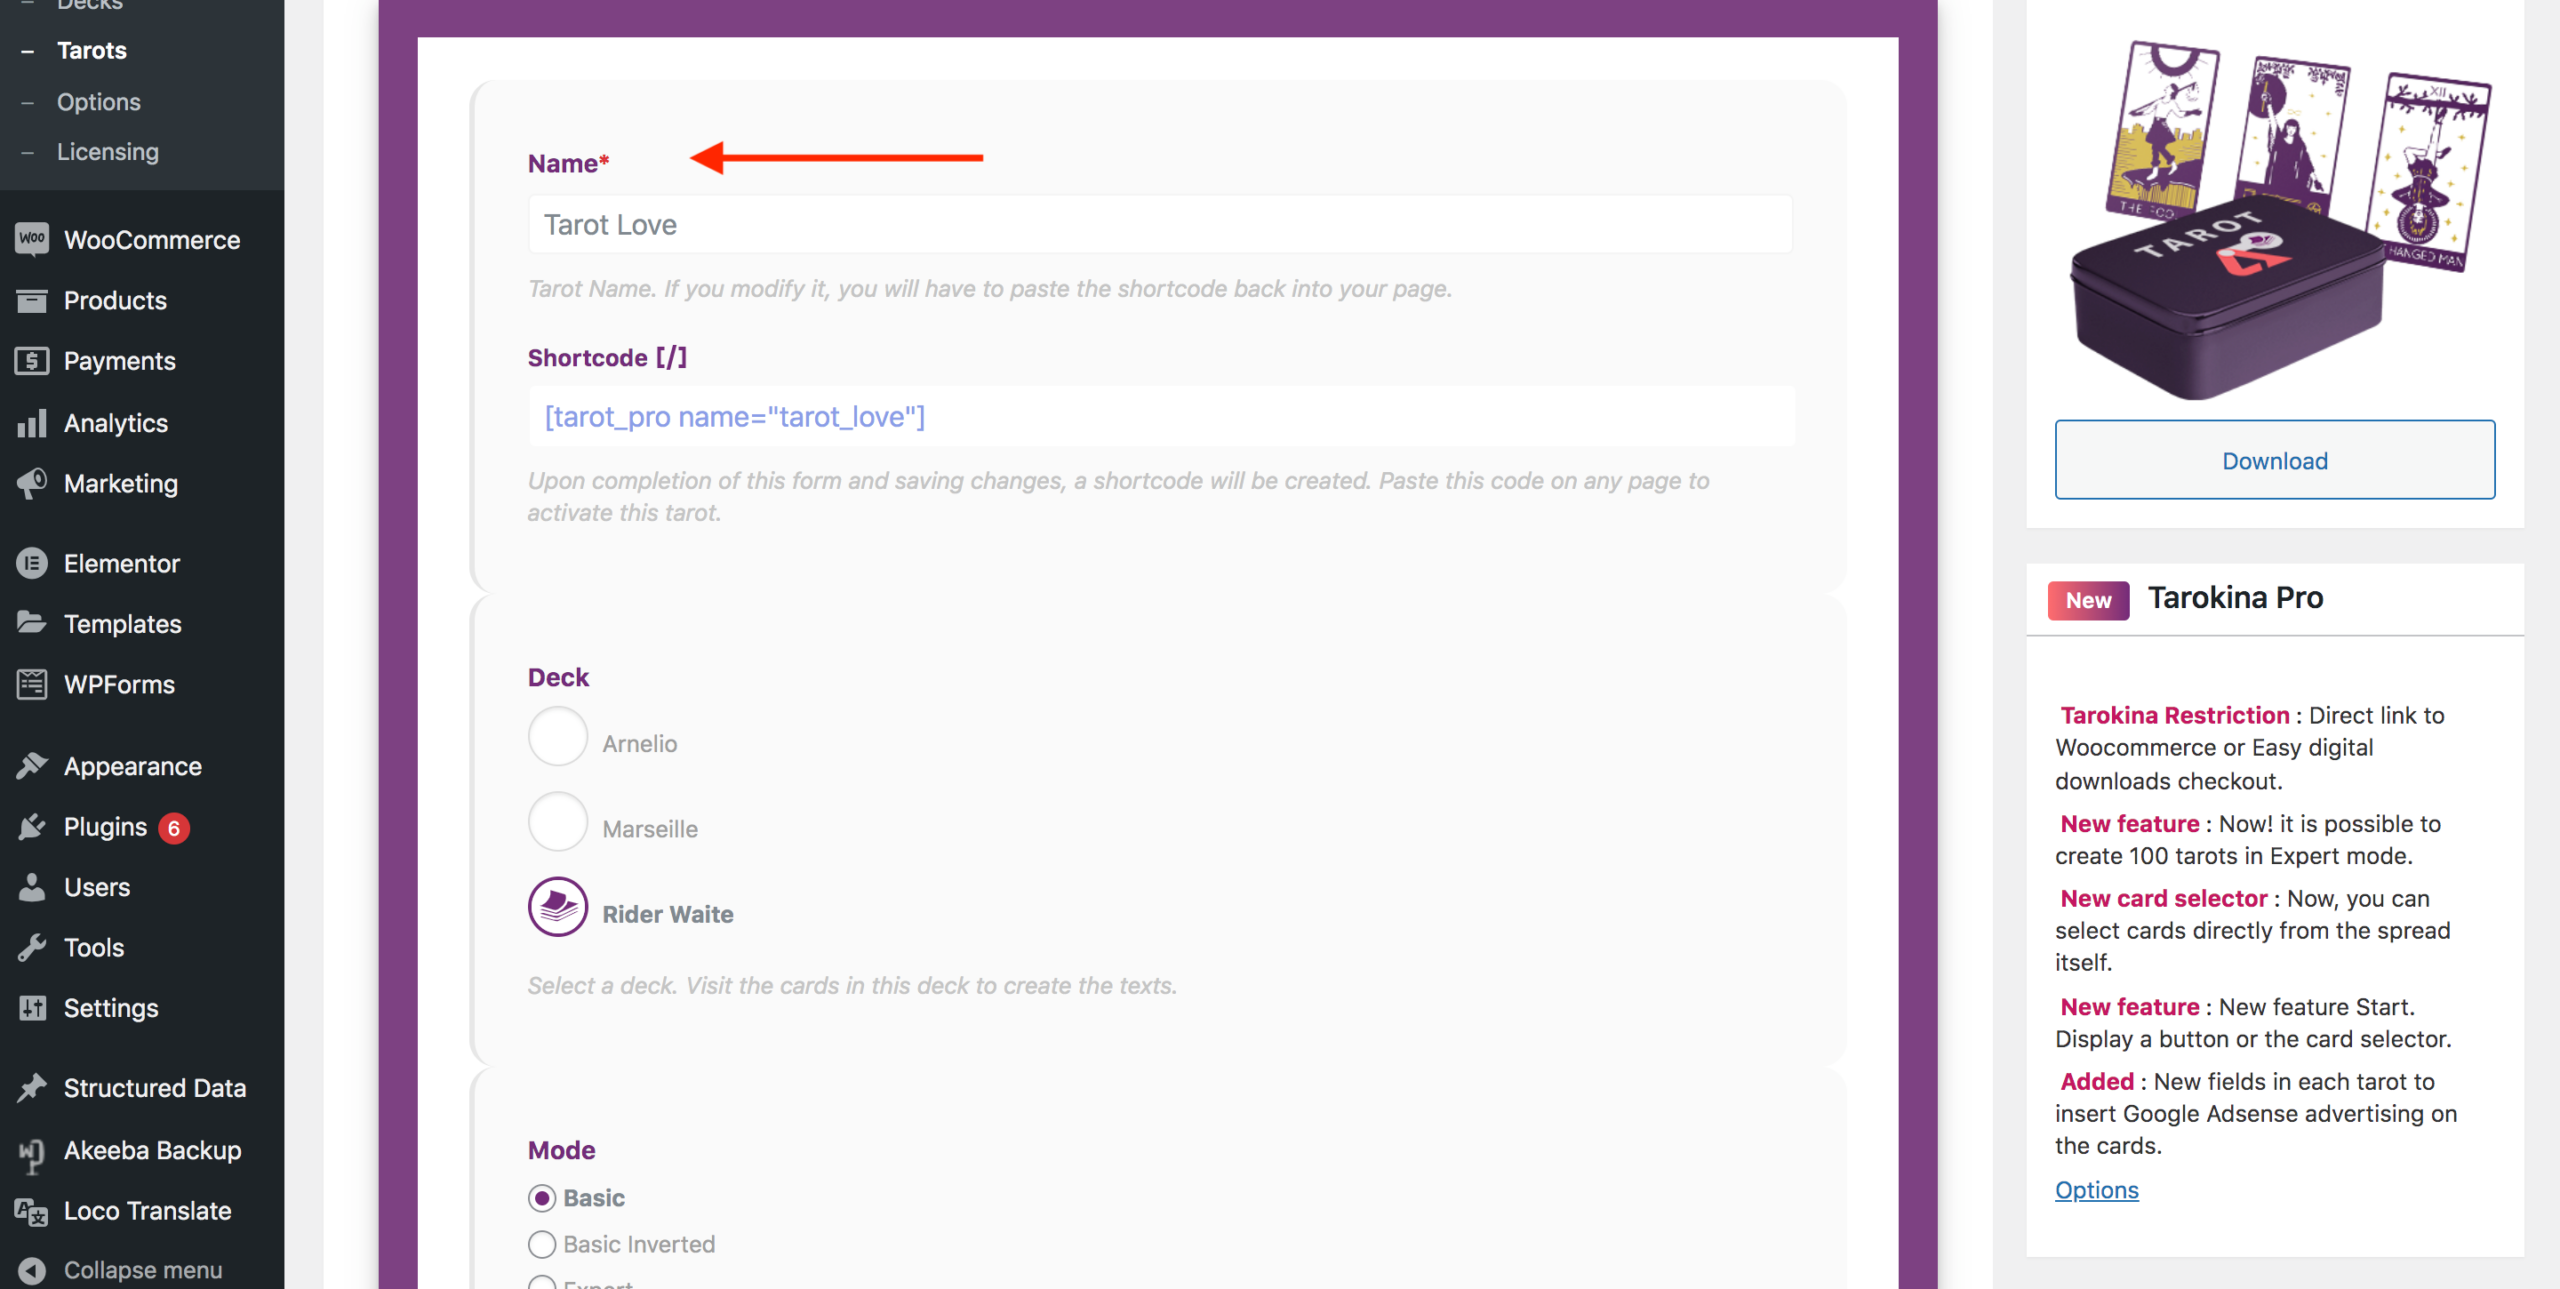
Enter the name of your tarot reading here and click “Save Changes”. As Tarokina uses this name to create the embed shortcode (next step), you cannot use special characters like “&” or “%” in the name or your tarot reading may not display correctly.
Shortcode
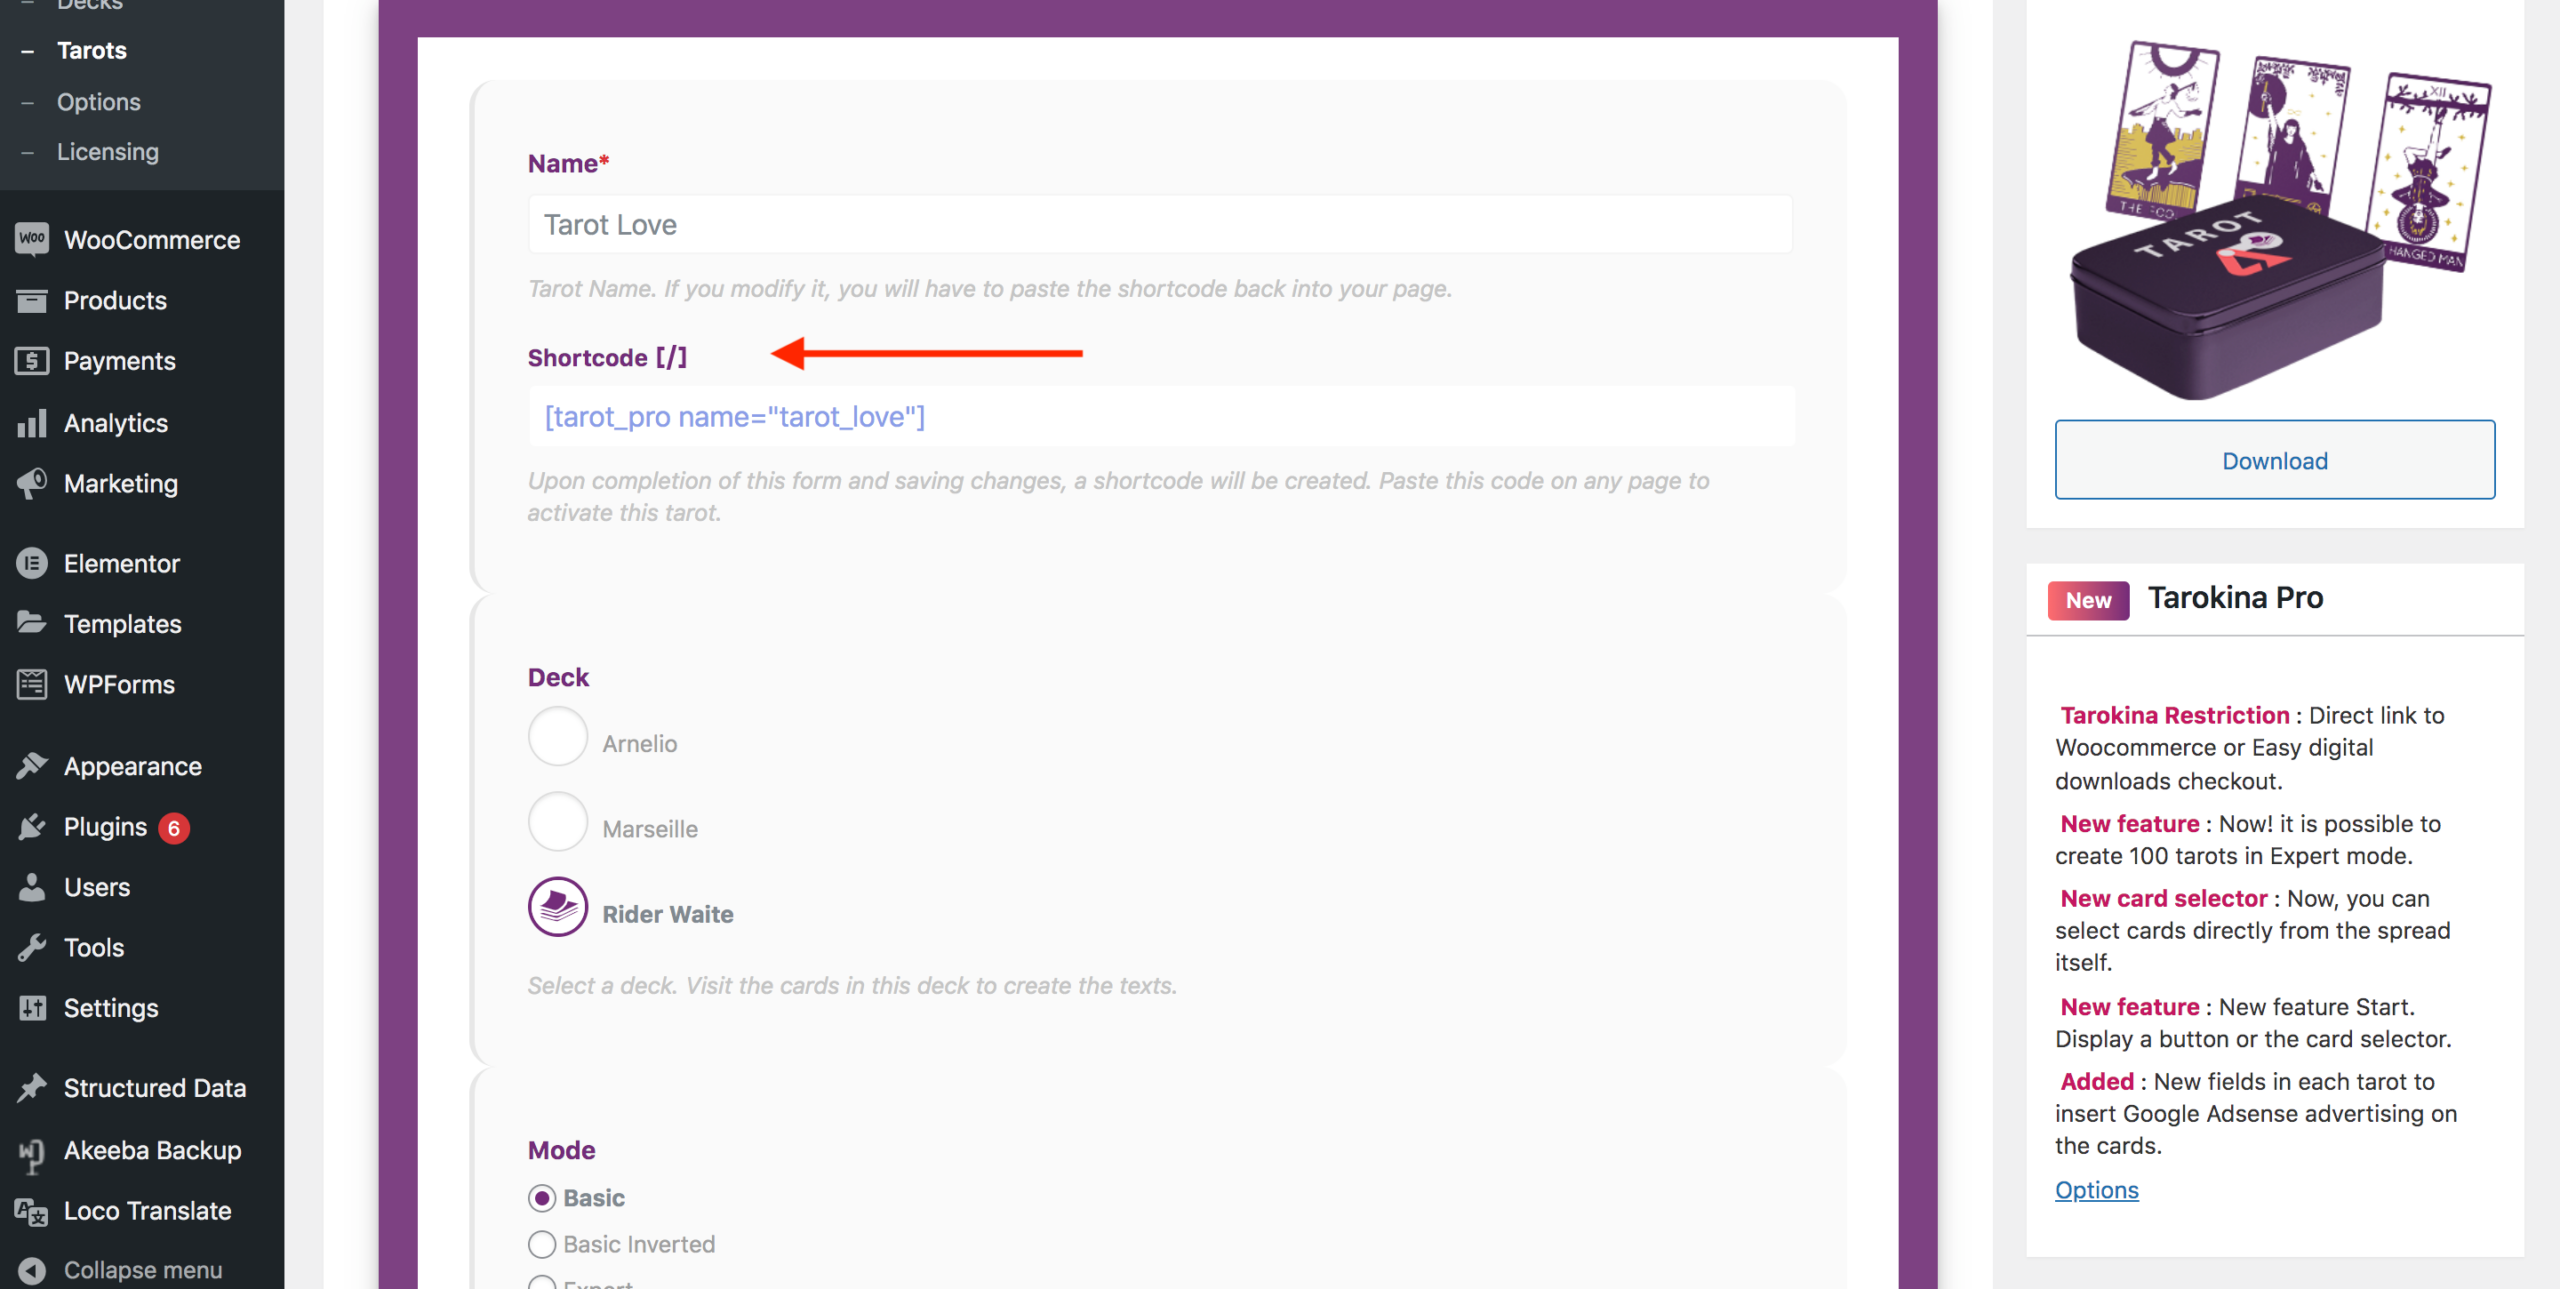
After you have entered and saved the tarot reading name, the shortcode field will autopopulate. You can then copy and paste the shortcode into a page or post to display your tarot reading.
Deck
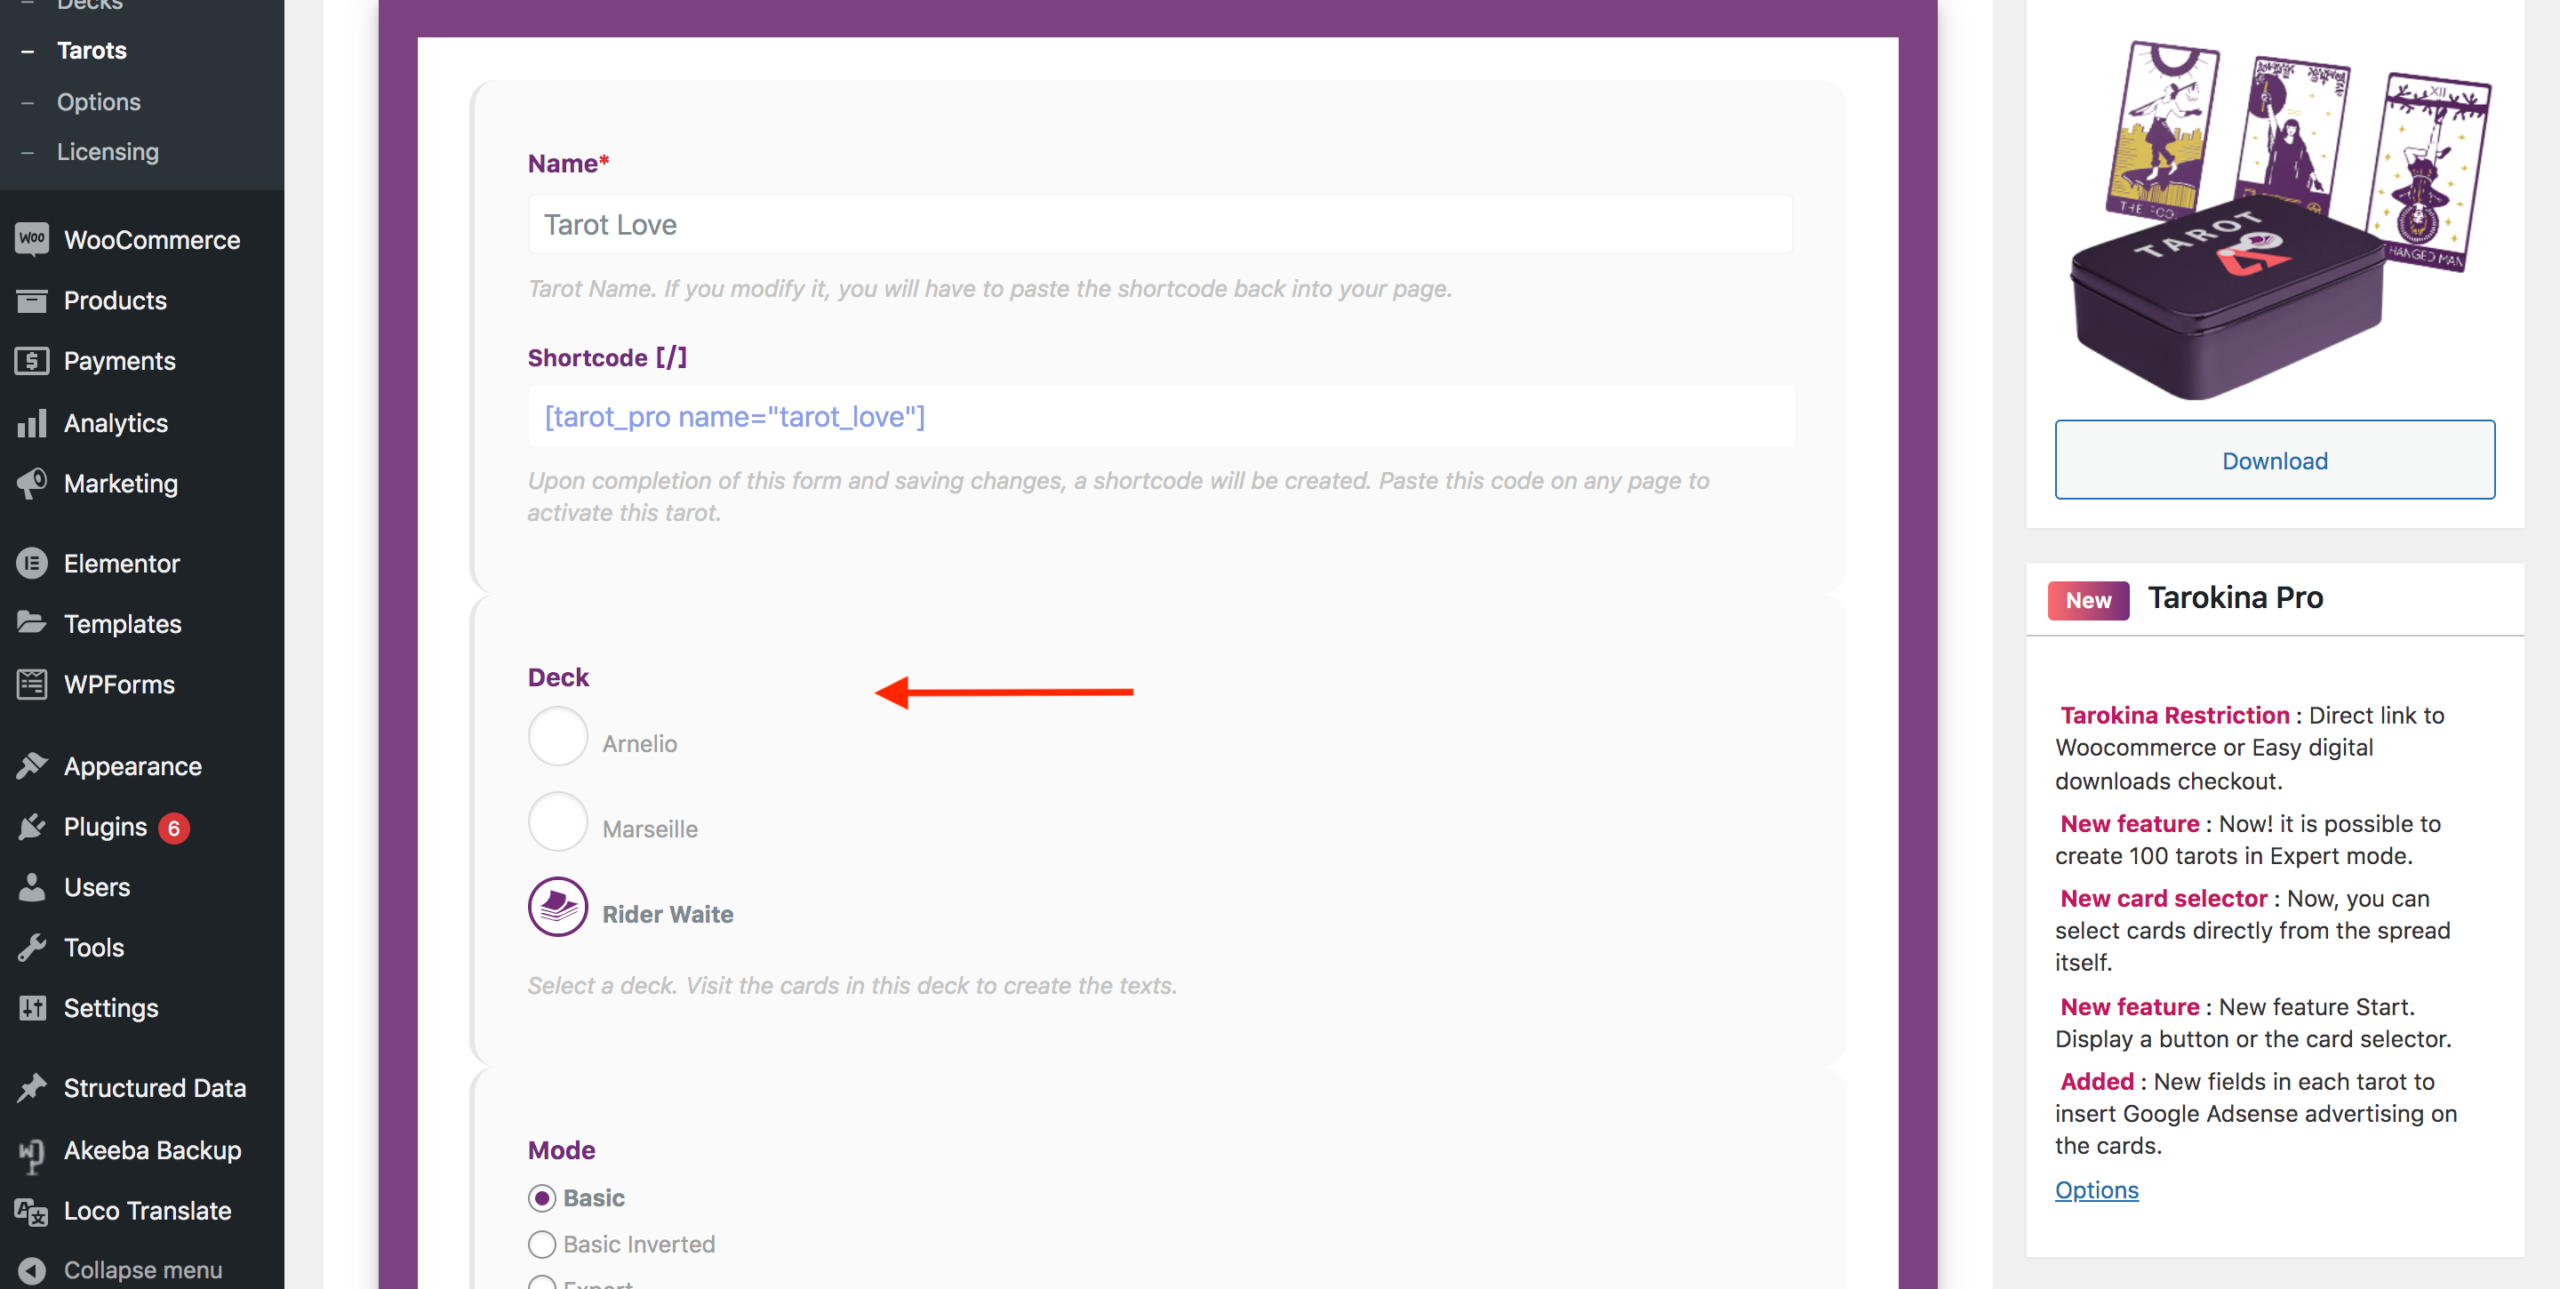
Select the deck for the reading by selecting your desired option. If you imported the included Arnelio deck during plugin installation you will see it listed here; otherwise you need to create each additional deck in the “Decks” option before being able to use them for a tarot reading.
To create a new deck (see images below):
- Click on “Decks” in the sidebar
- Enter the name of your new deck
- Click “Add new deck”
- Your new deck will be created
- Go back to your tarot reading settings. You will now be able to select your new deck for the reading.

Mode
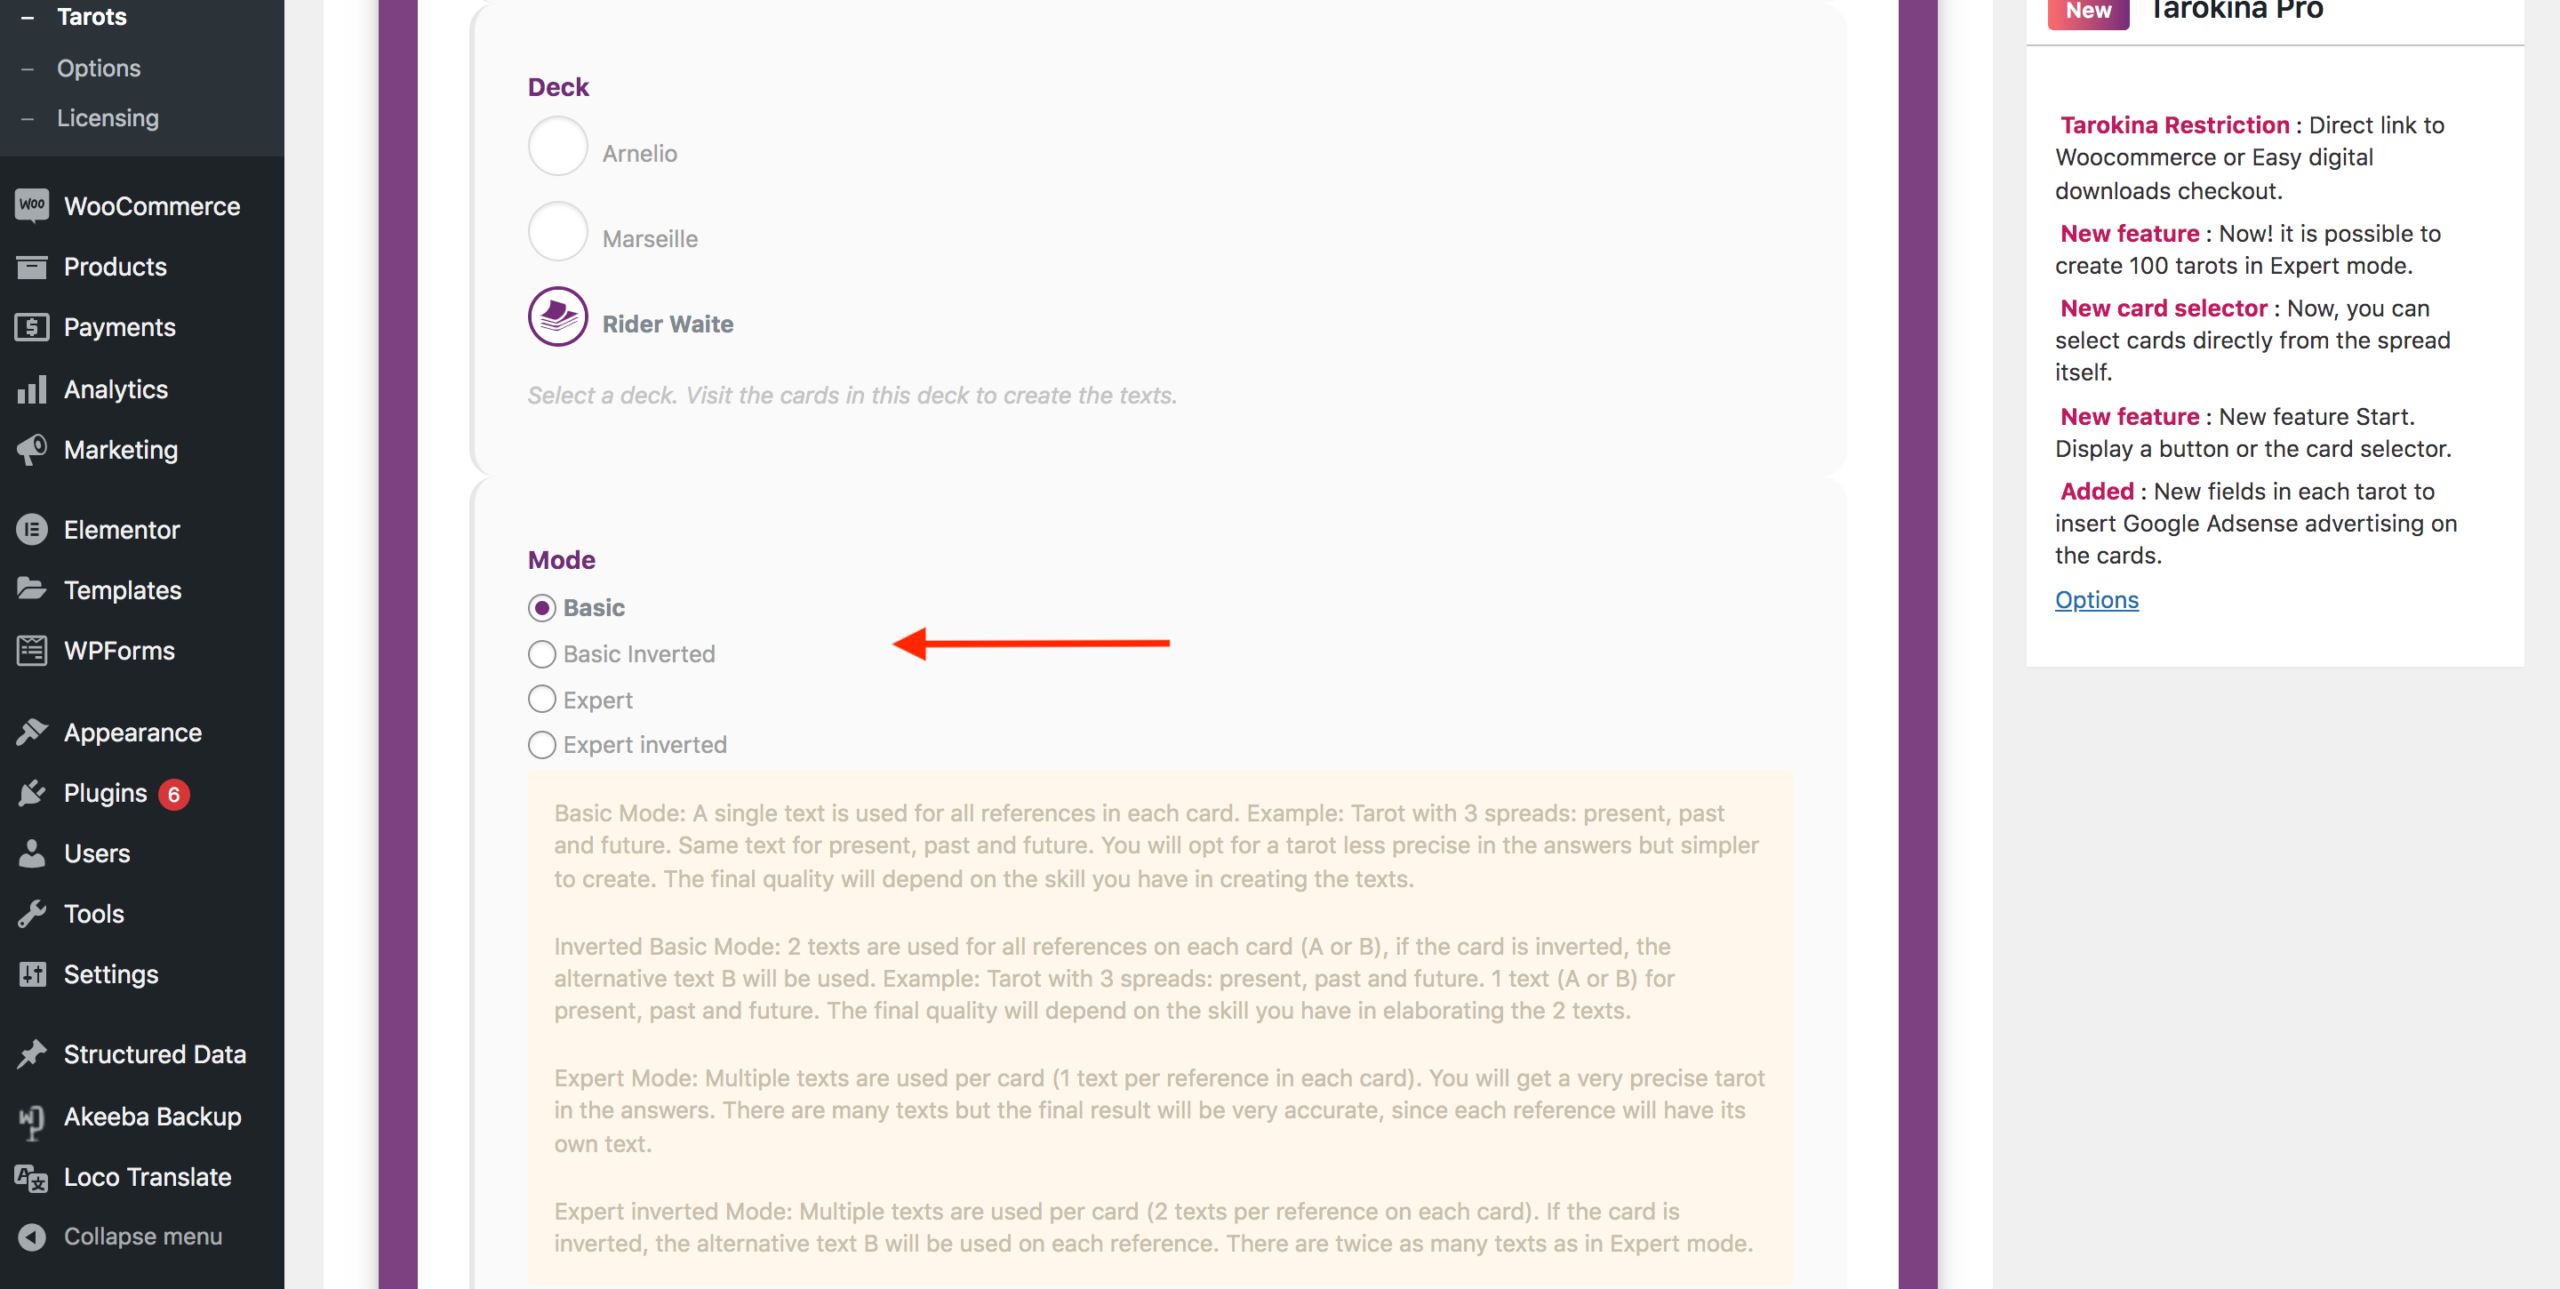
Specifies the number of descriptions that you want for each card in your reading, and whether or not you want inverted cards.
Basic – All cards will be upright and there will only be one description for each card, regardless of the number of positions in the spread.
Basic Inverted – Some of the drawn cards may be randomly inverted. In traditional tarot readings, reversed cards are usually understood to signify a blockage or challenge that must be overcome. Selecting this setting will allow you to enter two descriptions for each card – one for the upright position and one for inverted. Tarokina Pro will automatically select the correct description to show, based on whether the card is upright or not.
Expert – All cards will be upright but there will be multiple descriptions for each card, based on the number of cards in the selected tarot reading. As an example, say you create a three-card past-present-future tarot reading. Each card in the deck for that reading will then have three different possible descriptions – one for the past position, one for present, and one for future. Tarokina Pro will automatically select the correct description to display, depending on the position in which the card is drawn (see left image below).
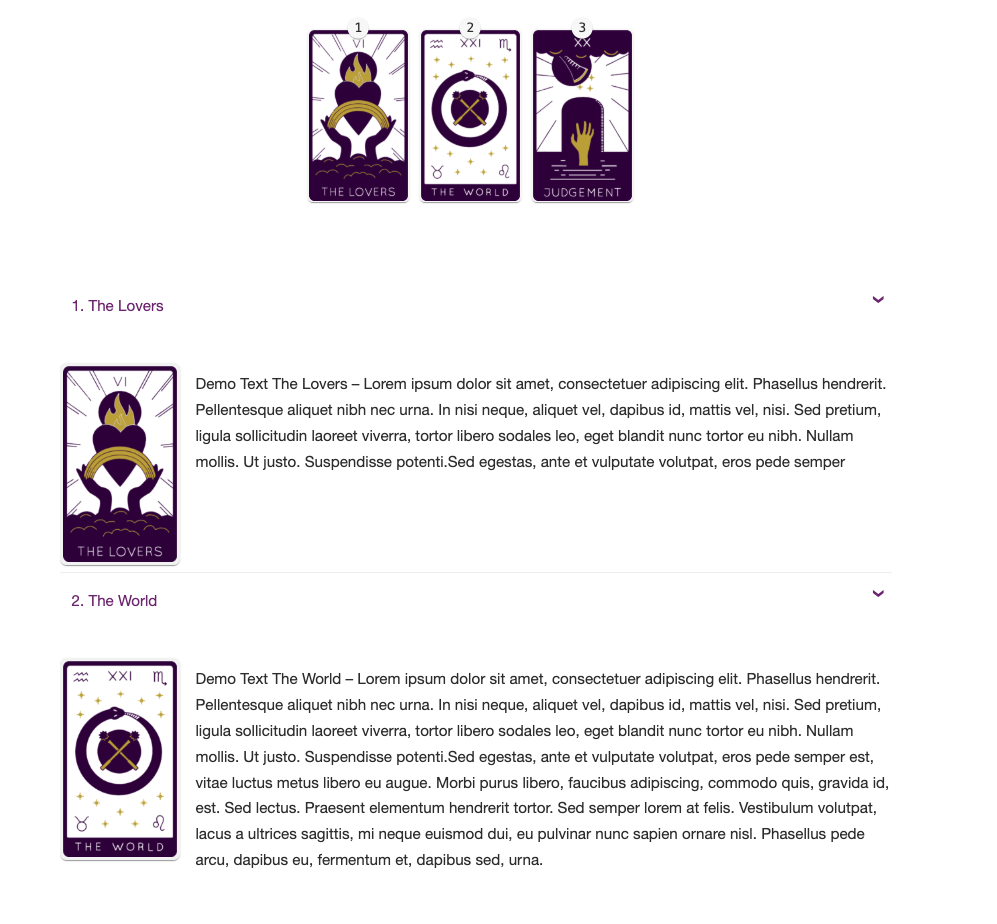
Expert Reversed – Will contain multiple descriptions, as your tarot reading can potentially display both upright and inverted cards. For each card, you will be able to create a different description for each position: One for the upright version of the card and one for the reversed version. As an example, if you create a three-card past-present-future tarot reading using this option, each card will have a different description for each possible upright position, and a description for each possible reversed position – six descriptions in total (see right image below).
Development
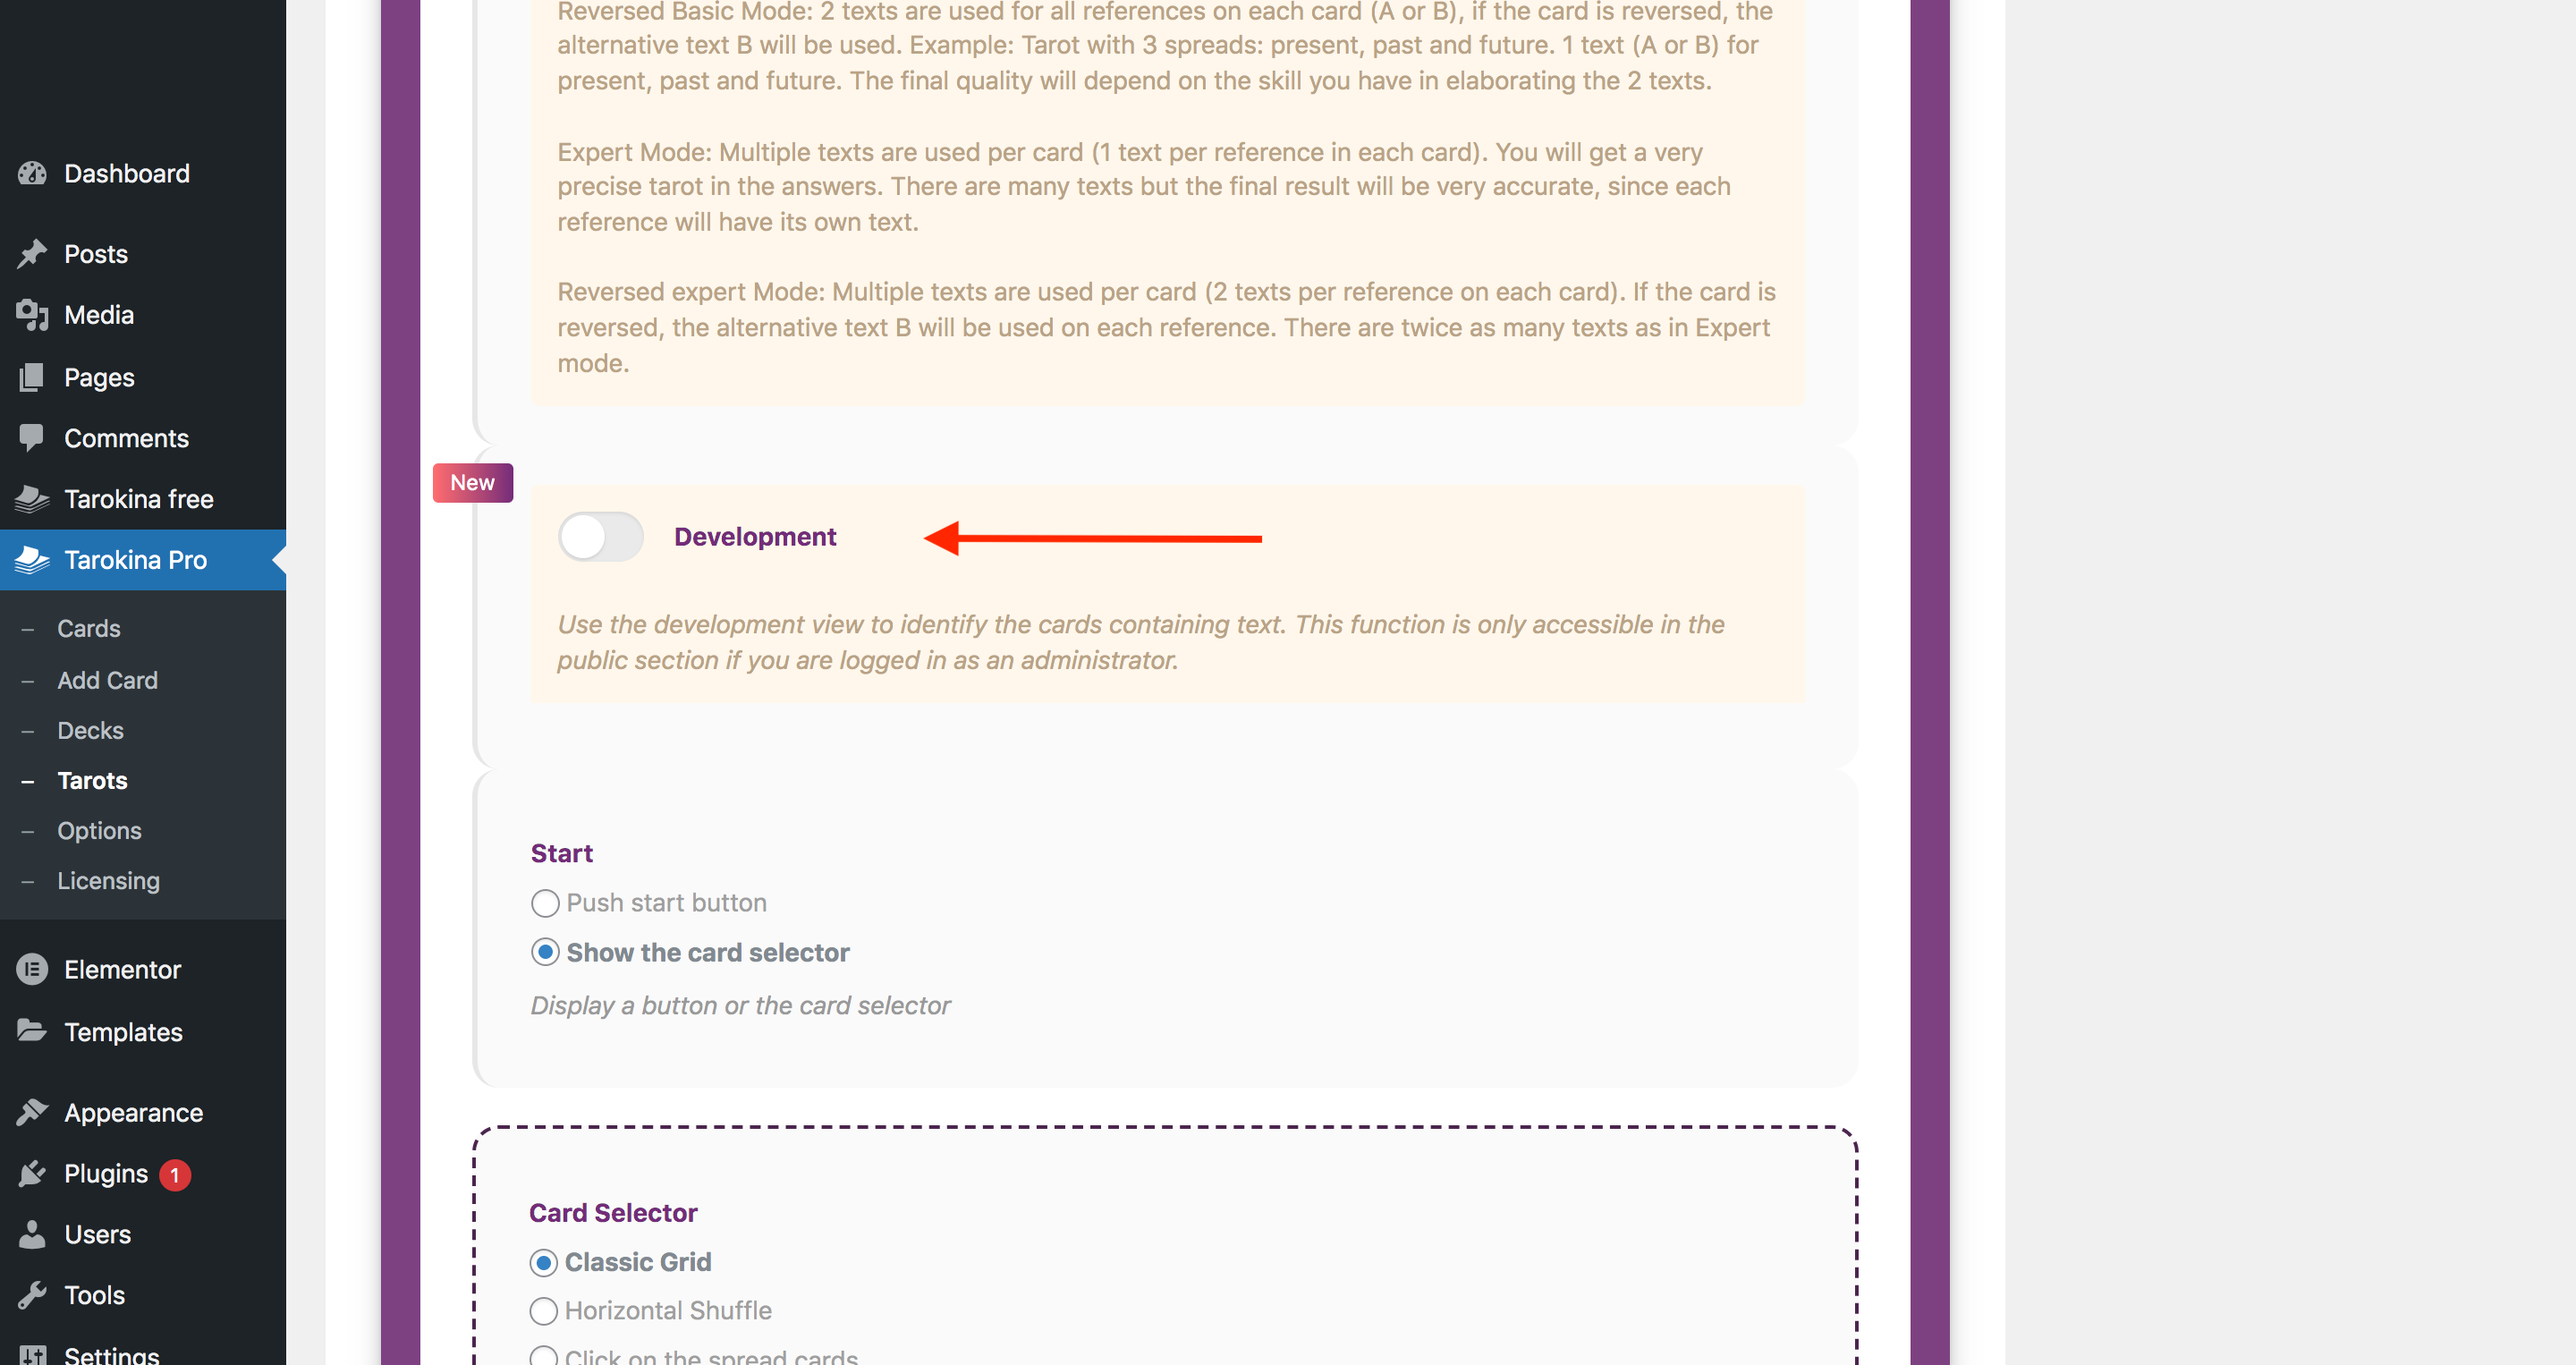
Select this option to check if all the cards in your tarot spread have complete descriptions. This makes it easy to identify which descriptions need to be added.
To use this feauture:
- Click the “Development” button and then “Save Changes”.
- Paste the shortcode for your tarot reading into a page or post, save your changes, and then preview or publish your post.
- You need to be logged in as an admin and be viewing your site on the front-end to see this feature in action.
- If all descriptions are complete you will get a green thumbs up and no red thumb (left image).
- If all descriptions are missing you will get a red thumbs down and no green thumb (middle image). The total number of required descriptions will be displayed (in this case “66 texts”), as well as the number of descriptions required per card (“You must write 3 texts on each card”) and the red thumbs down. A thumbnail of each card will be shown with the number of missing descriptions. In this image, none of the descriptions required for an expert three card reading have been added.
- As you add descriptions the total number of missing descriptions will reduce (red thumb), and the number of descriptions present for each card will increase (green thumb). You can see the effects of adding three descriptions for The World card in the right image. The green thumb shows three valid descriptions have been entered; the red thumb count has reduced by three; and the icon for The World has turned green, indicating 3/3 descriptions are present.
Start
Selecting the “Push start button” will show a simple button that users can click to start the reading. Selecting “Show the card selector” will show the cards laid out face down below the background image / spread.
Card Selector
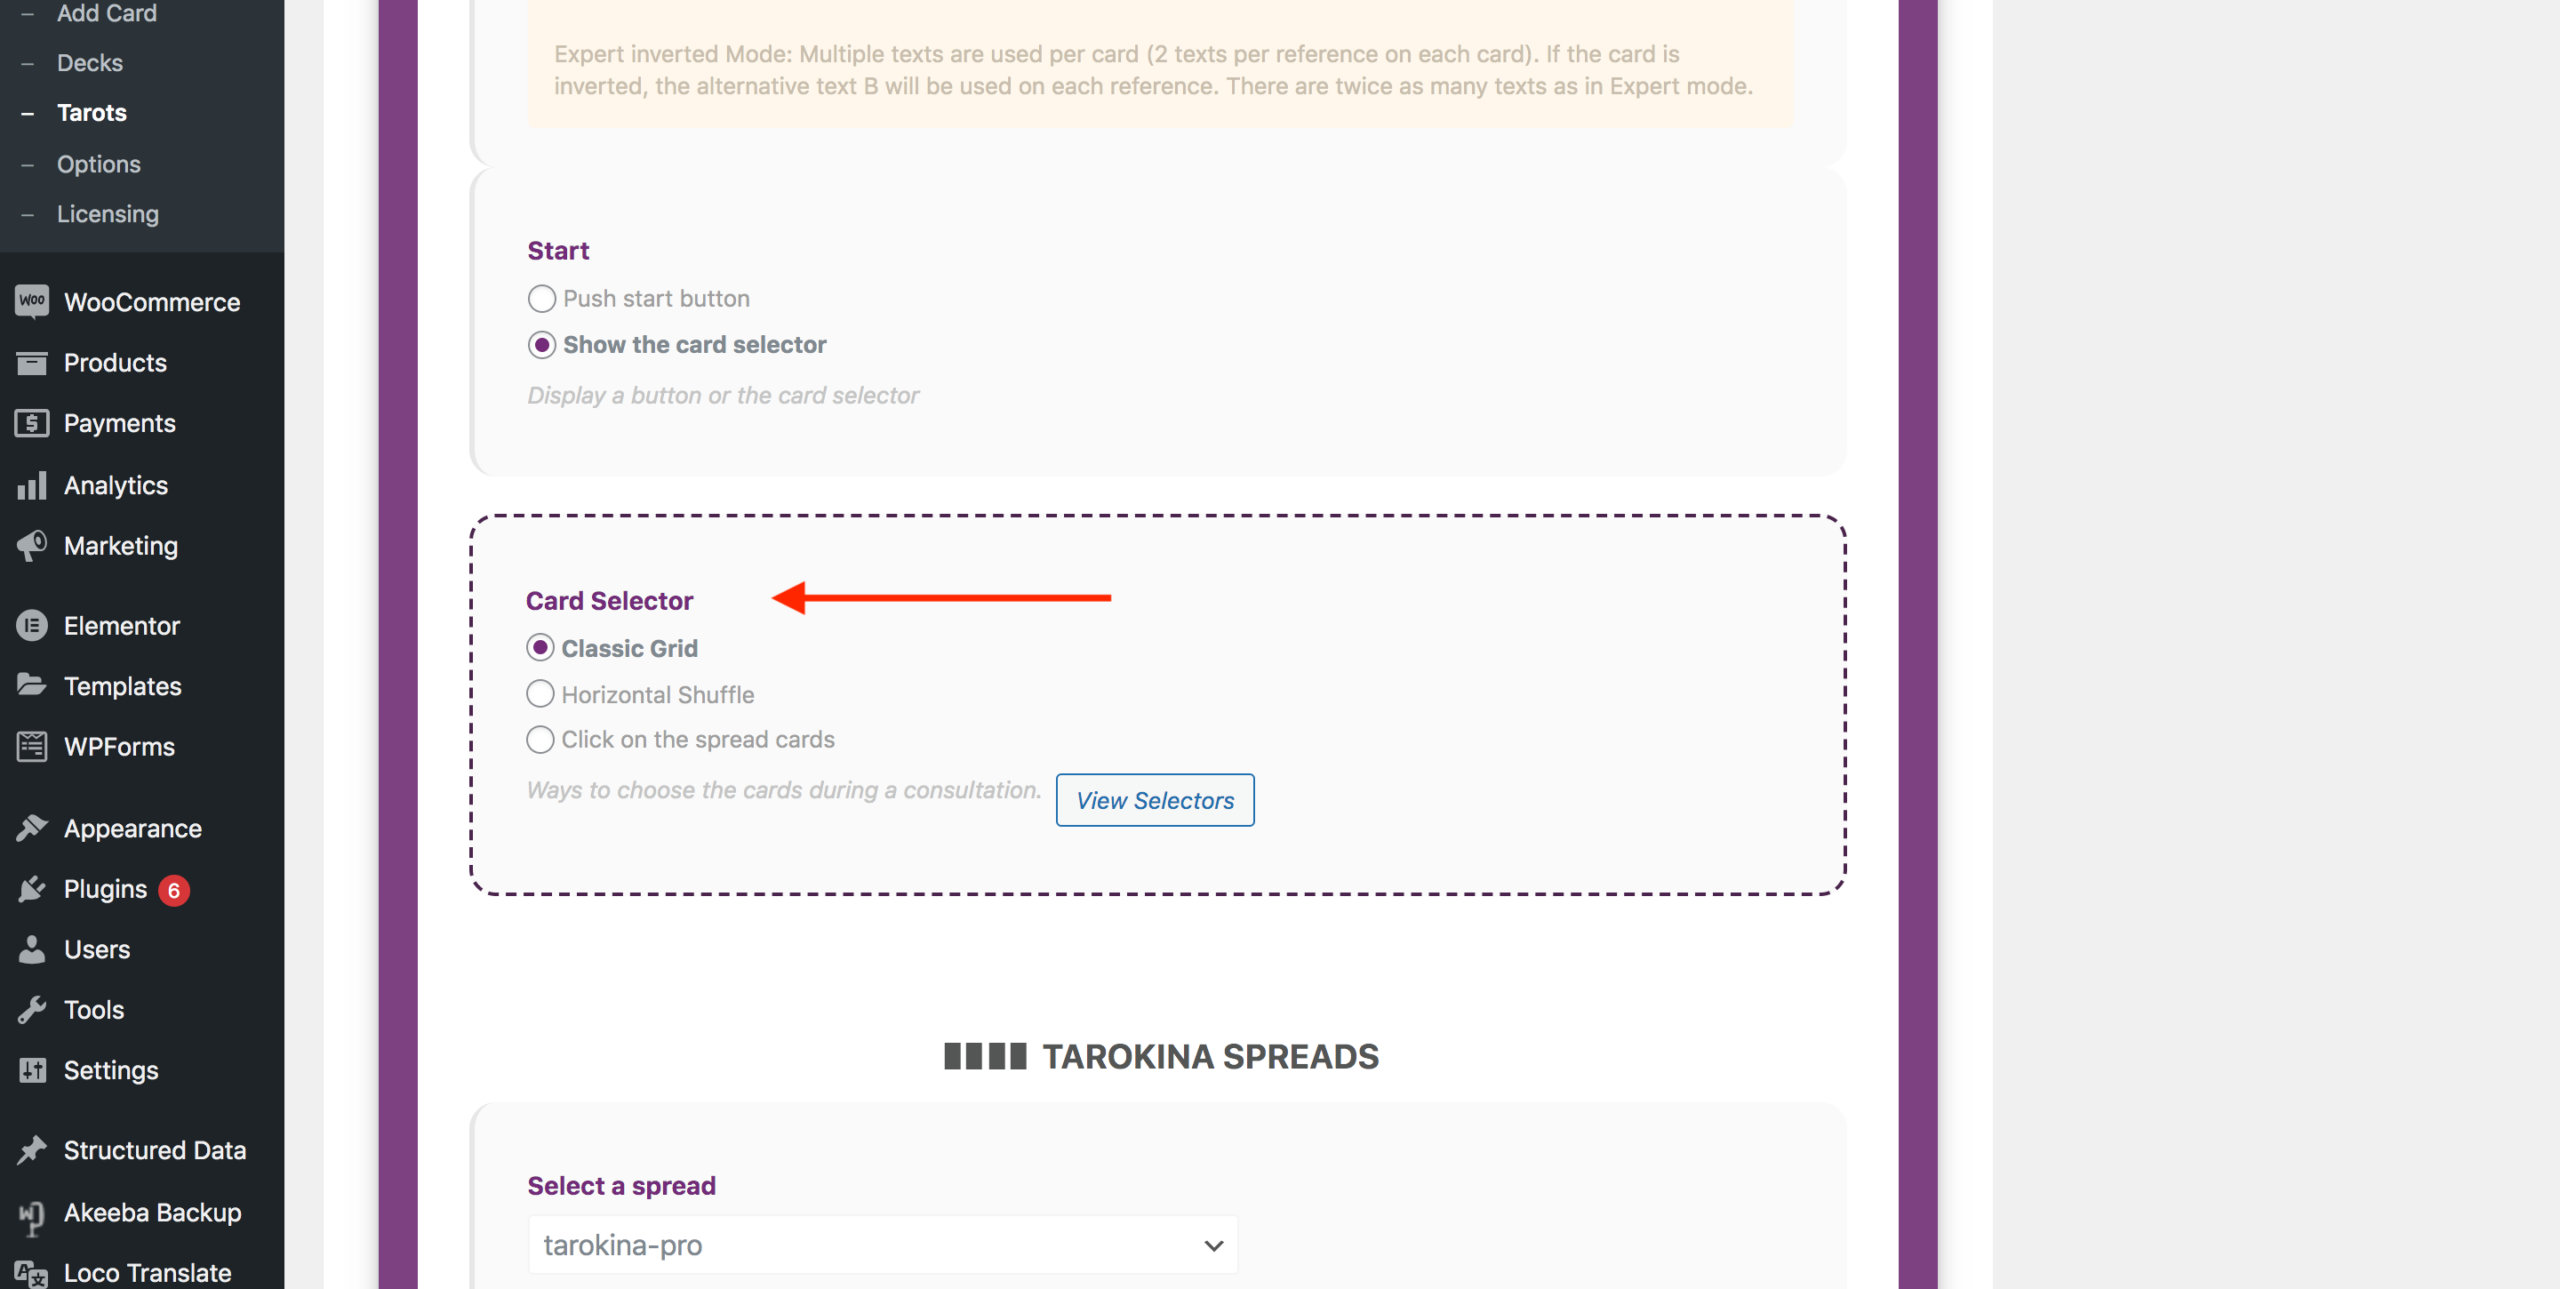
Select the option you want to show the card selector in your desired pattern. Click the “View Selectors” button to see the three available options. The “Horizontal Shuffle” option will insert a “Shuffle” button that will trigger a shuffling animation if clicked.
Maximum number of visible cards in the selector
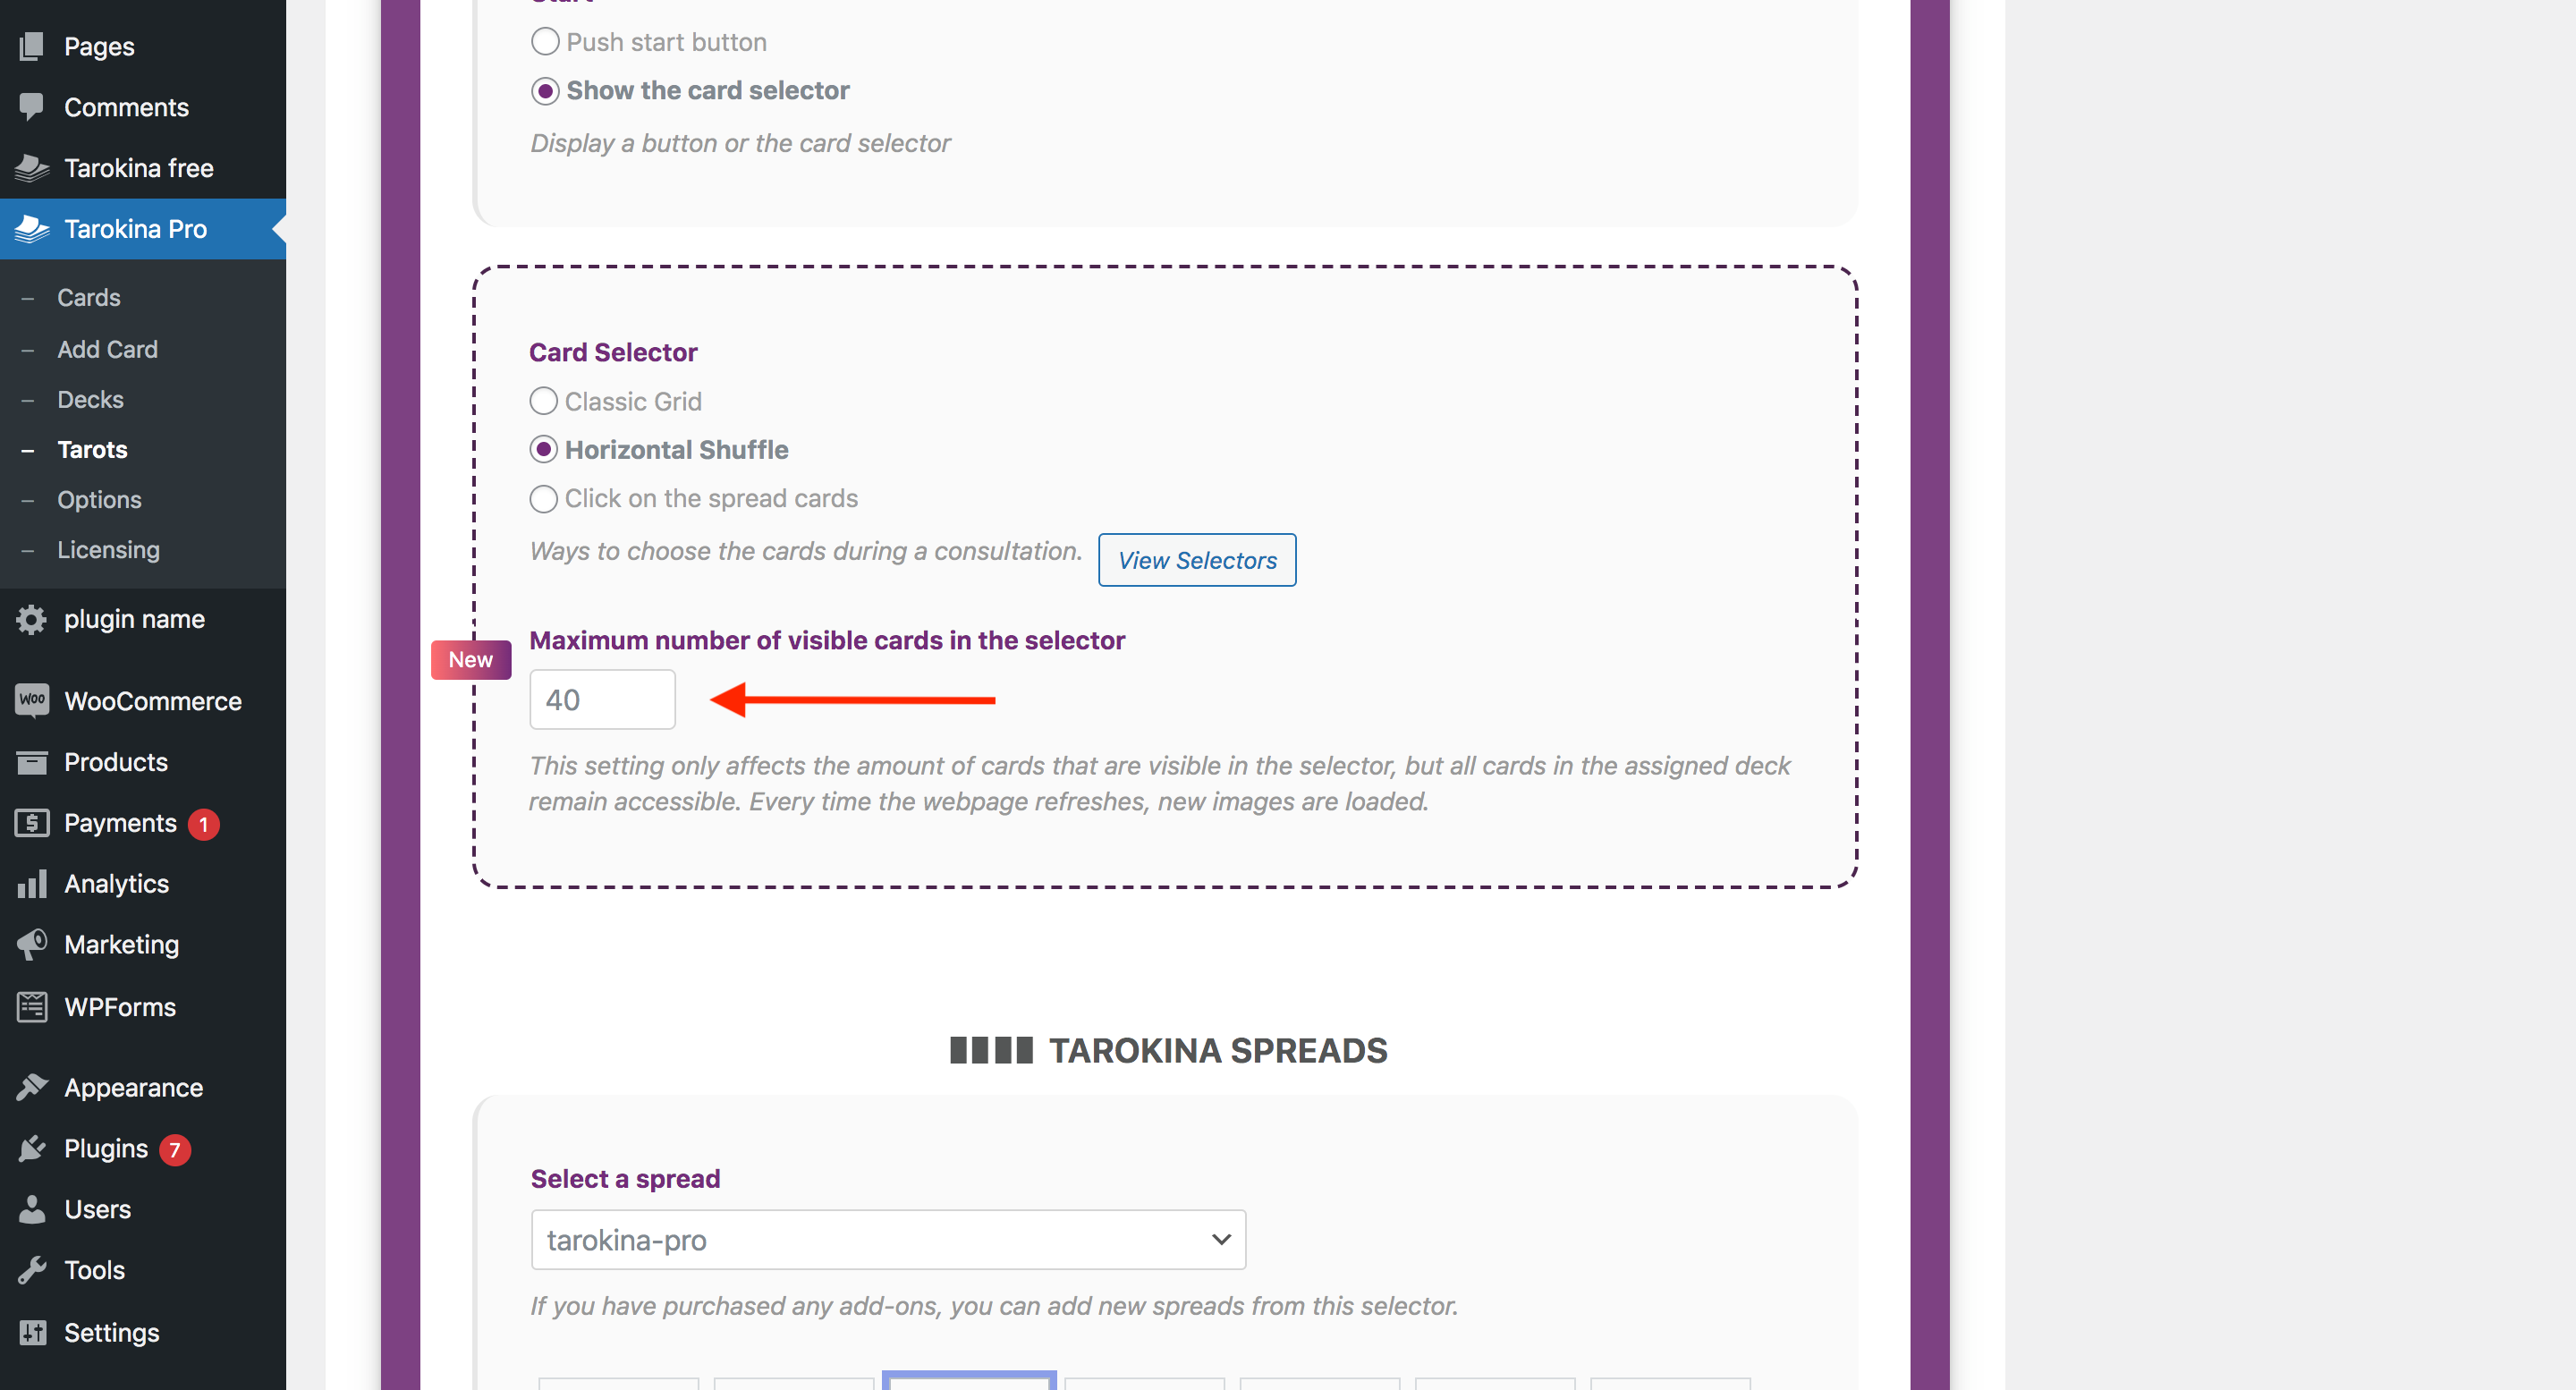
Set the maximum number of cards that you wish to display. All cards in the deck remain selectable by the user, even if the maximum number of displayed cards is less than the number in the deck. Adjust the number to achieve the appearance that works best for your site.
Select a spread
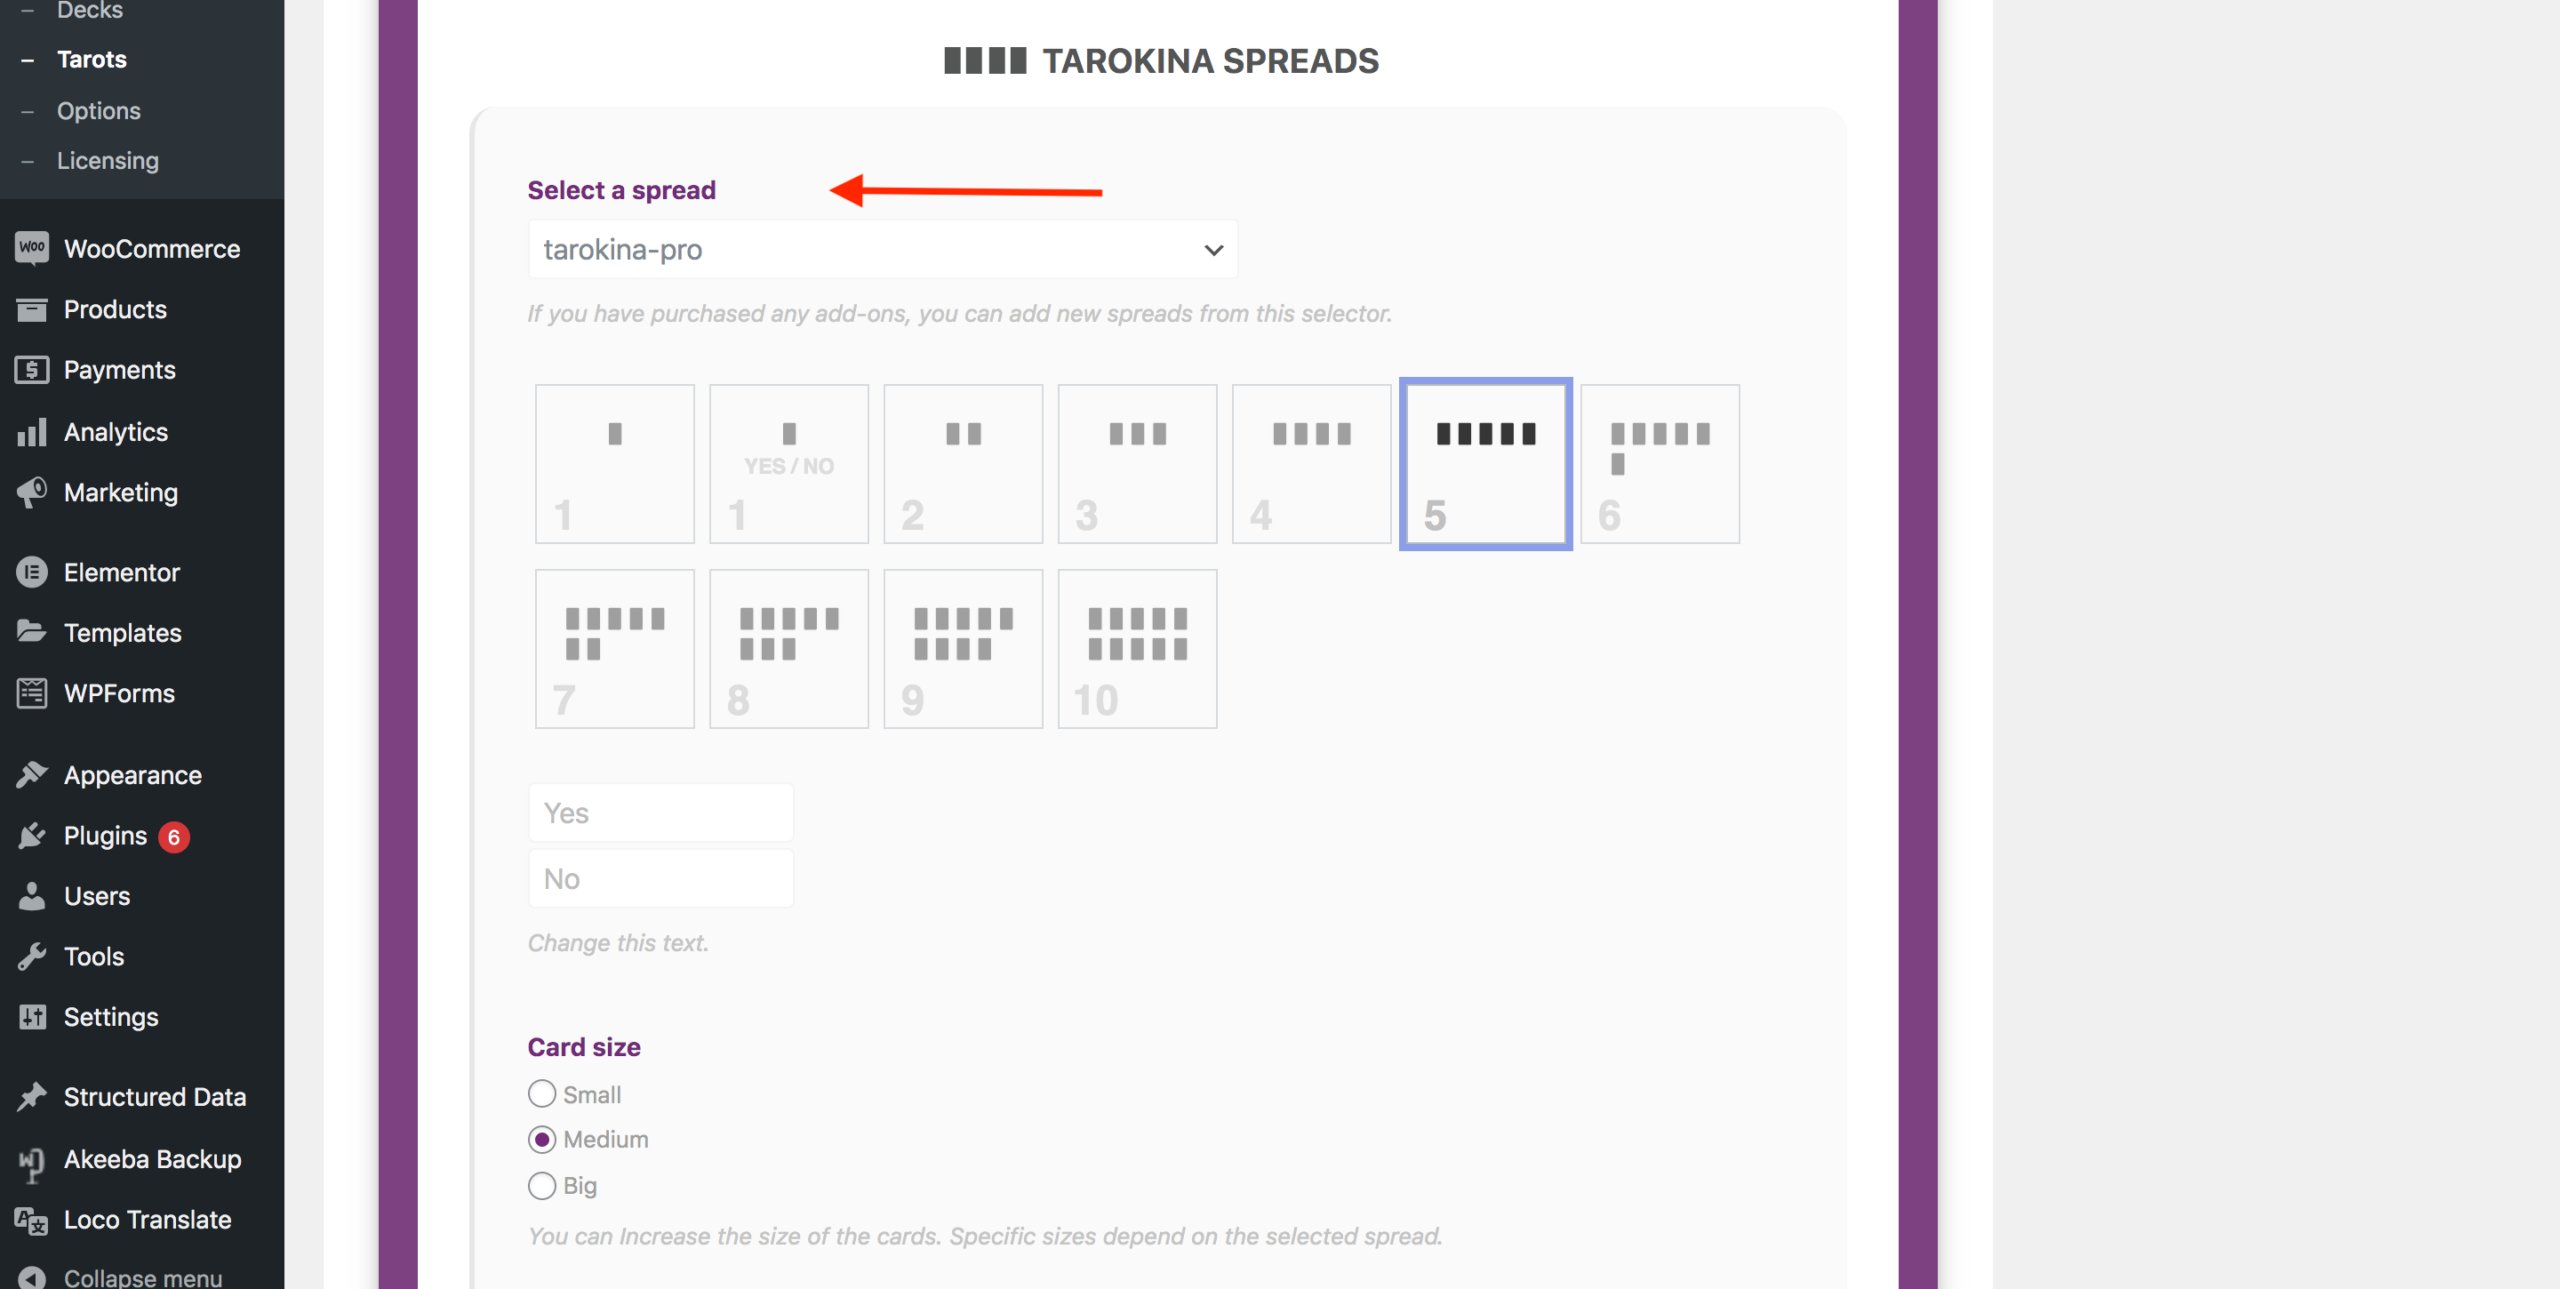
Select your desired spread by clicking on the relevant thumbnail. If you have bought additional spread packs, select your desired spread pack from the dropdown menu and then click “Save Changes”. You will then be able to select your desired spread – see image below:
Card size
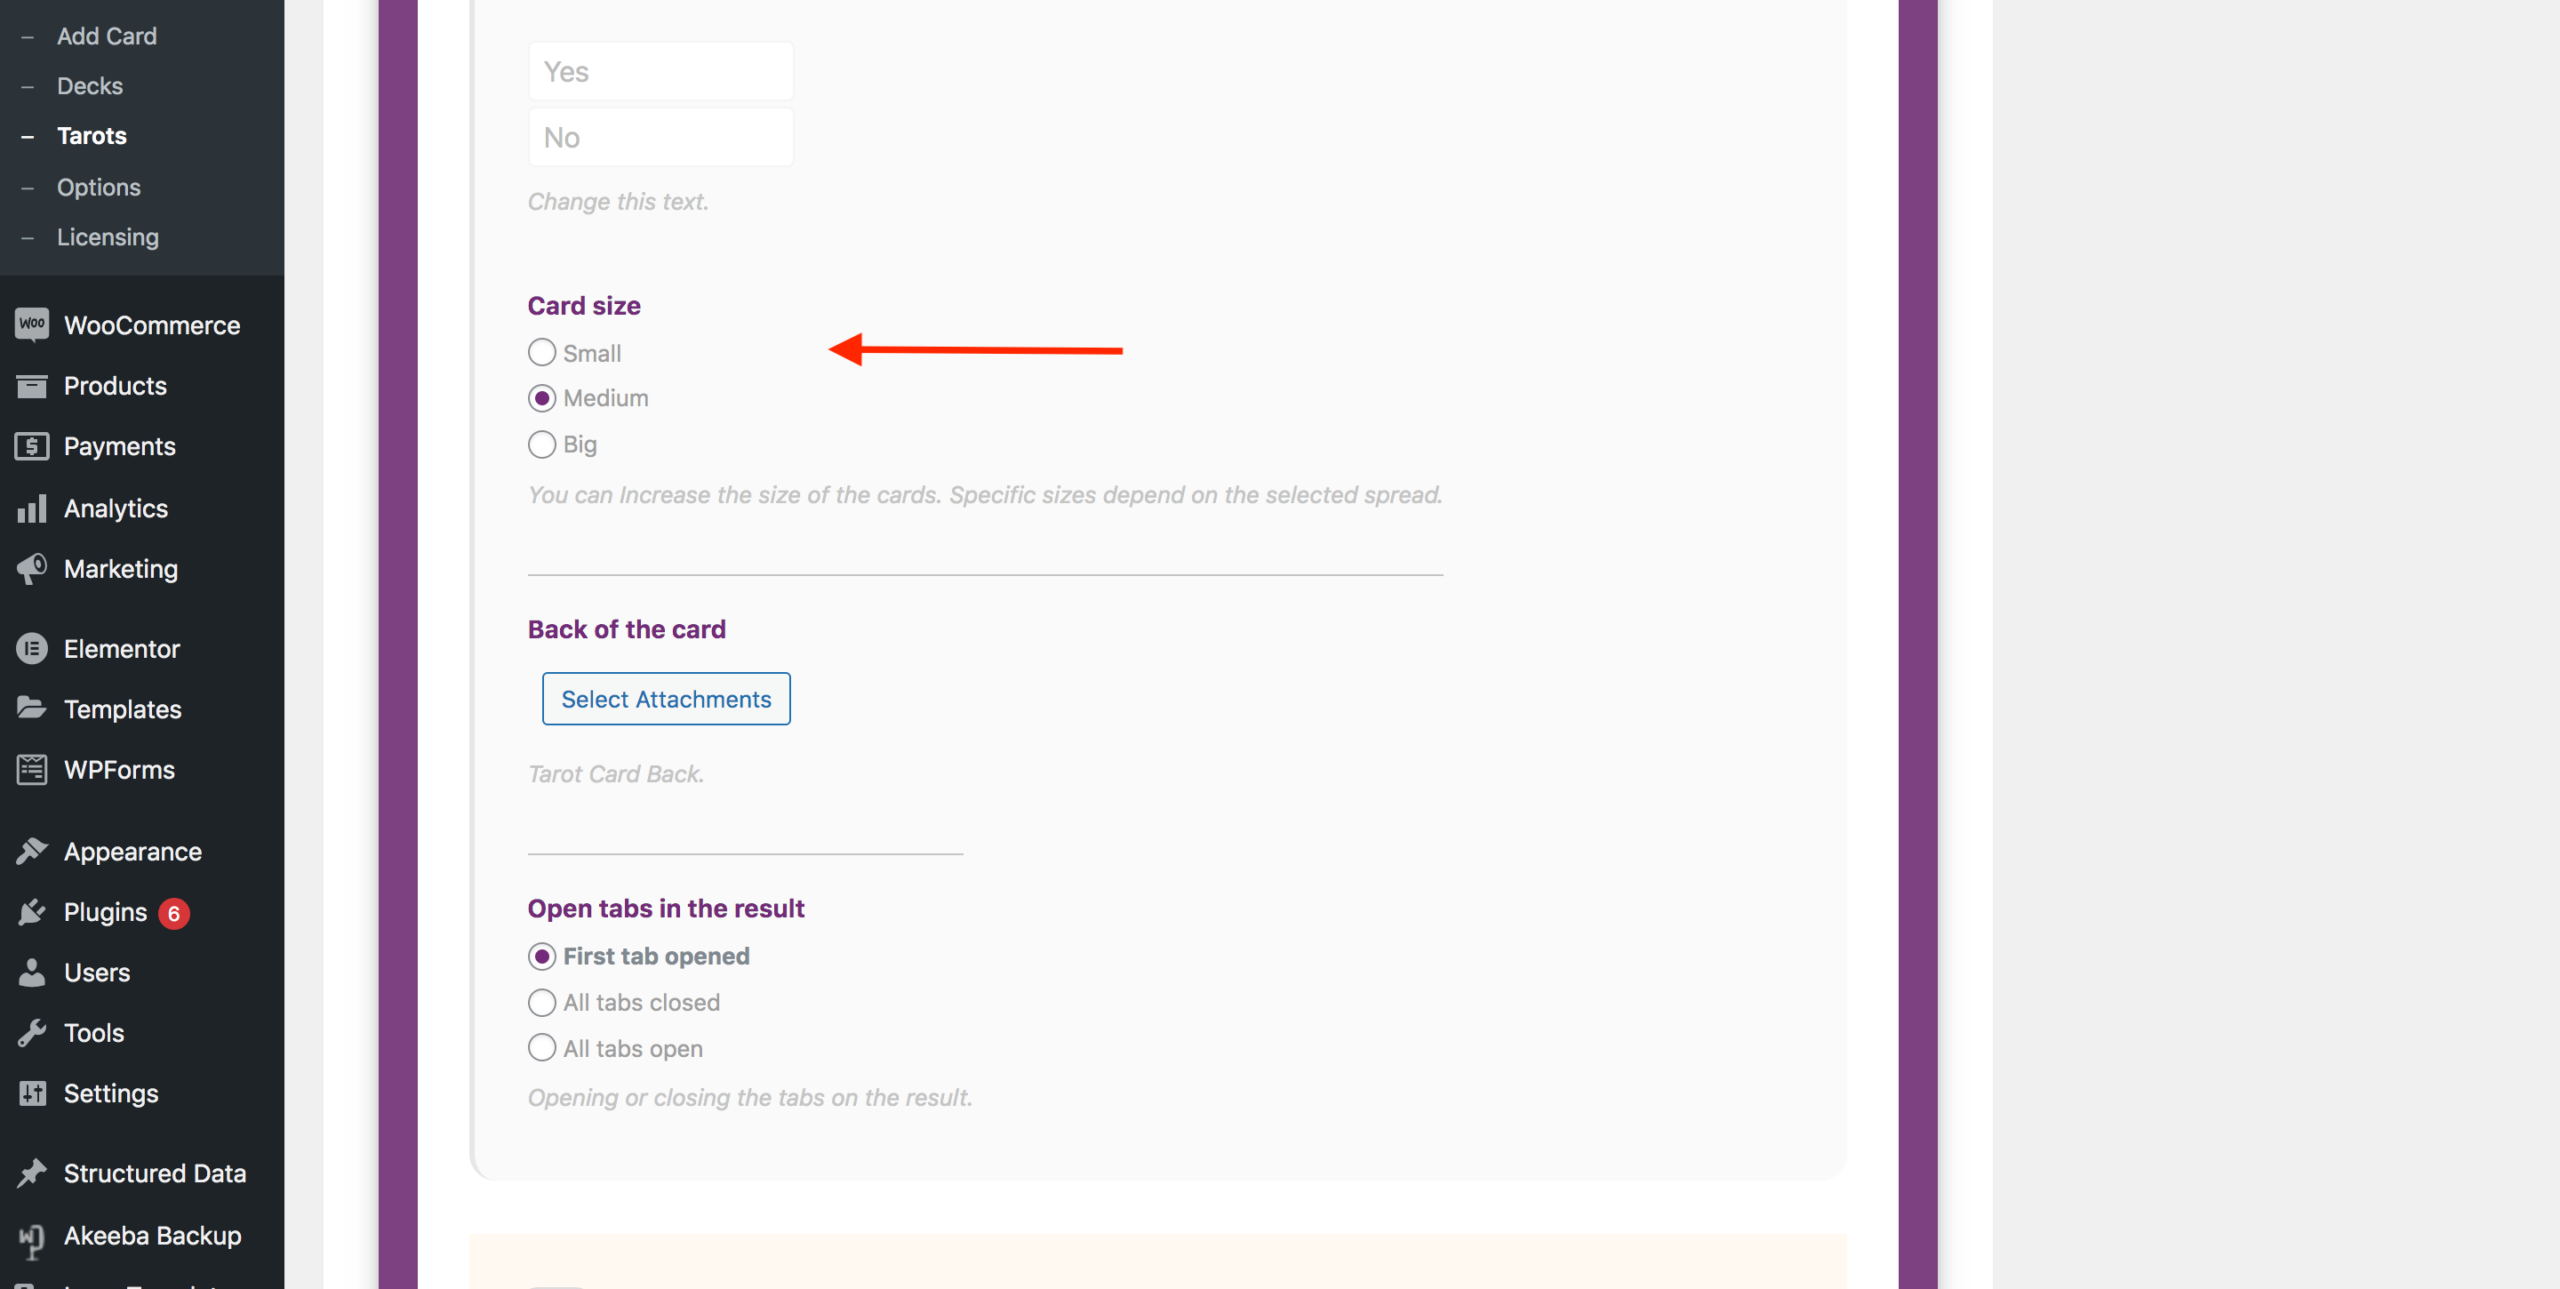
Adjust the card size for your selected spread by selecting the relevant button. The resulting front-end effect will depend on the specific spread.
Back of the card
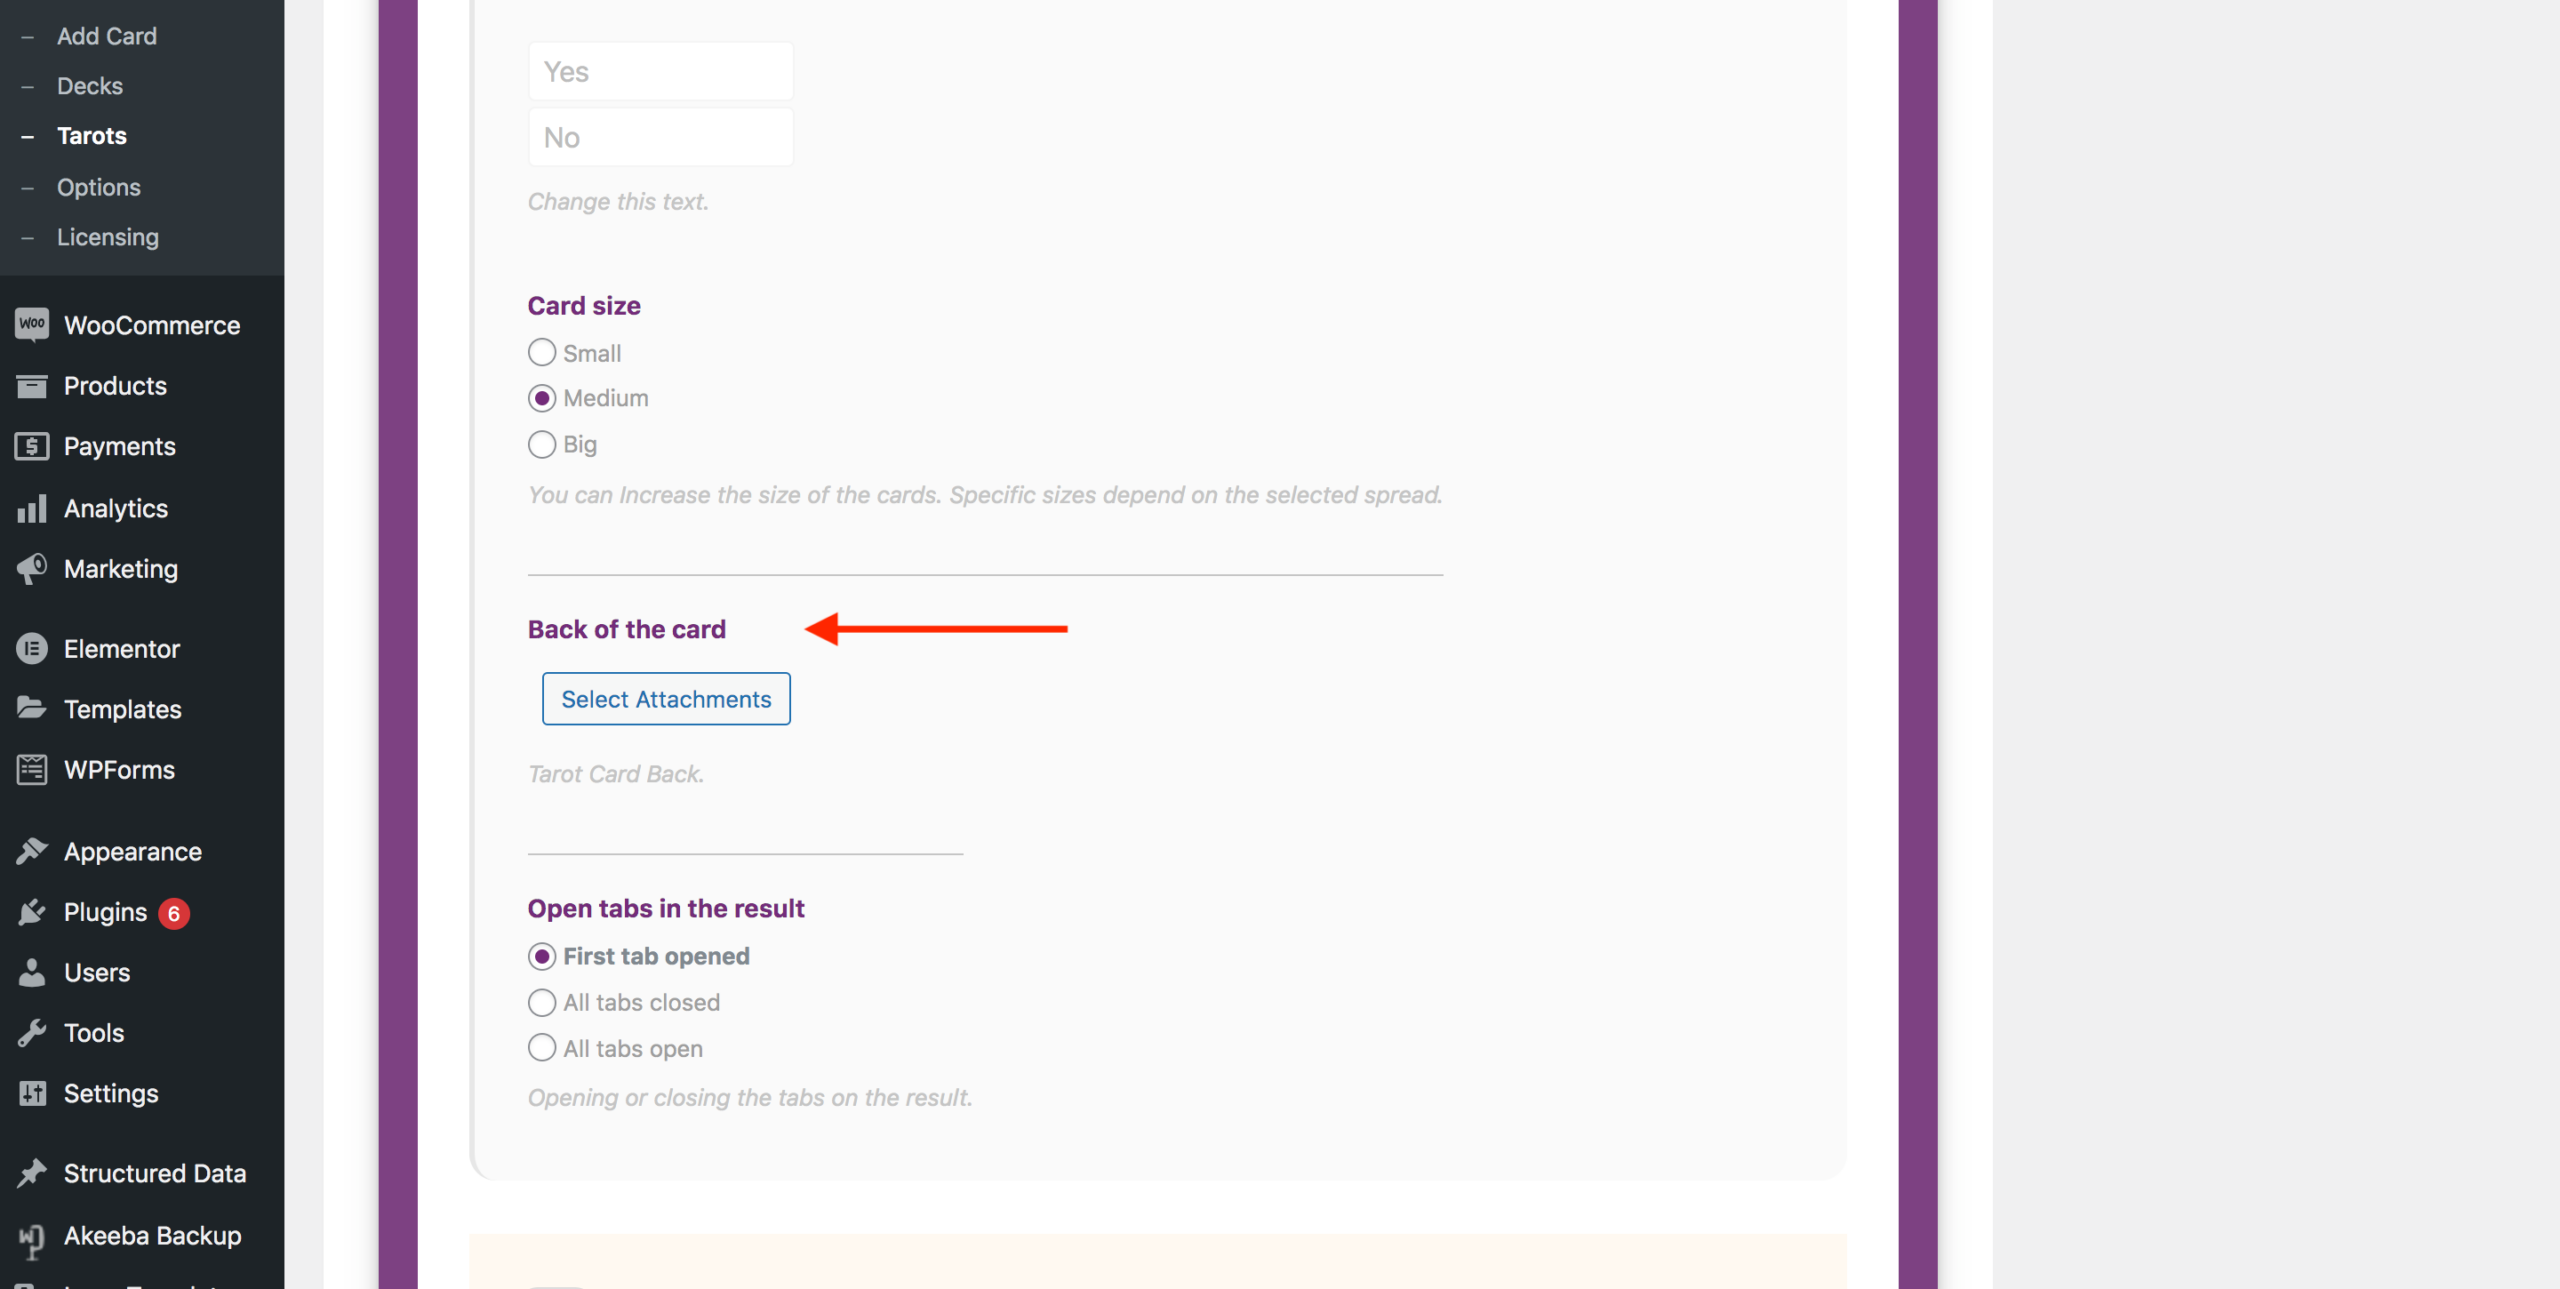
While Tarokina Pro includes a default image for the card back, you can use change this image by clicking the “Select Attachments” button and uploading your desired image file.
Open tabs in the result
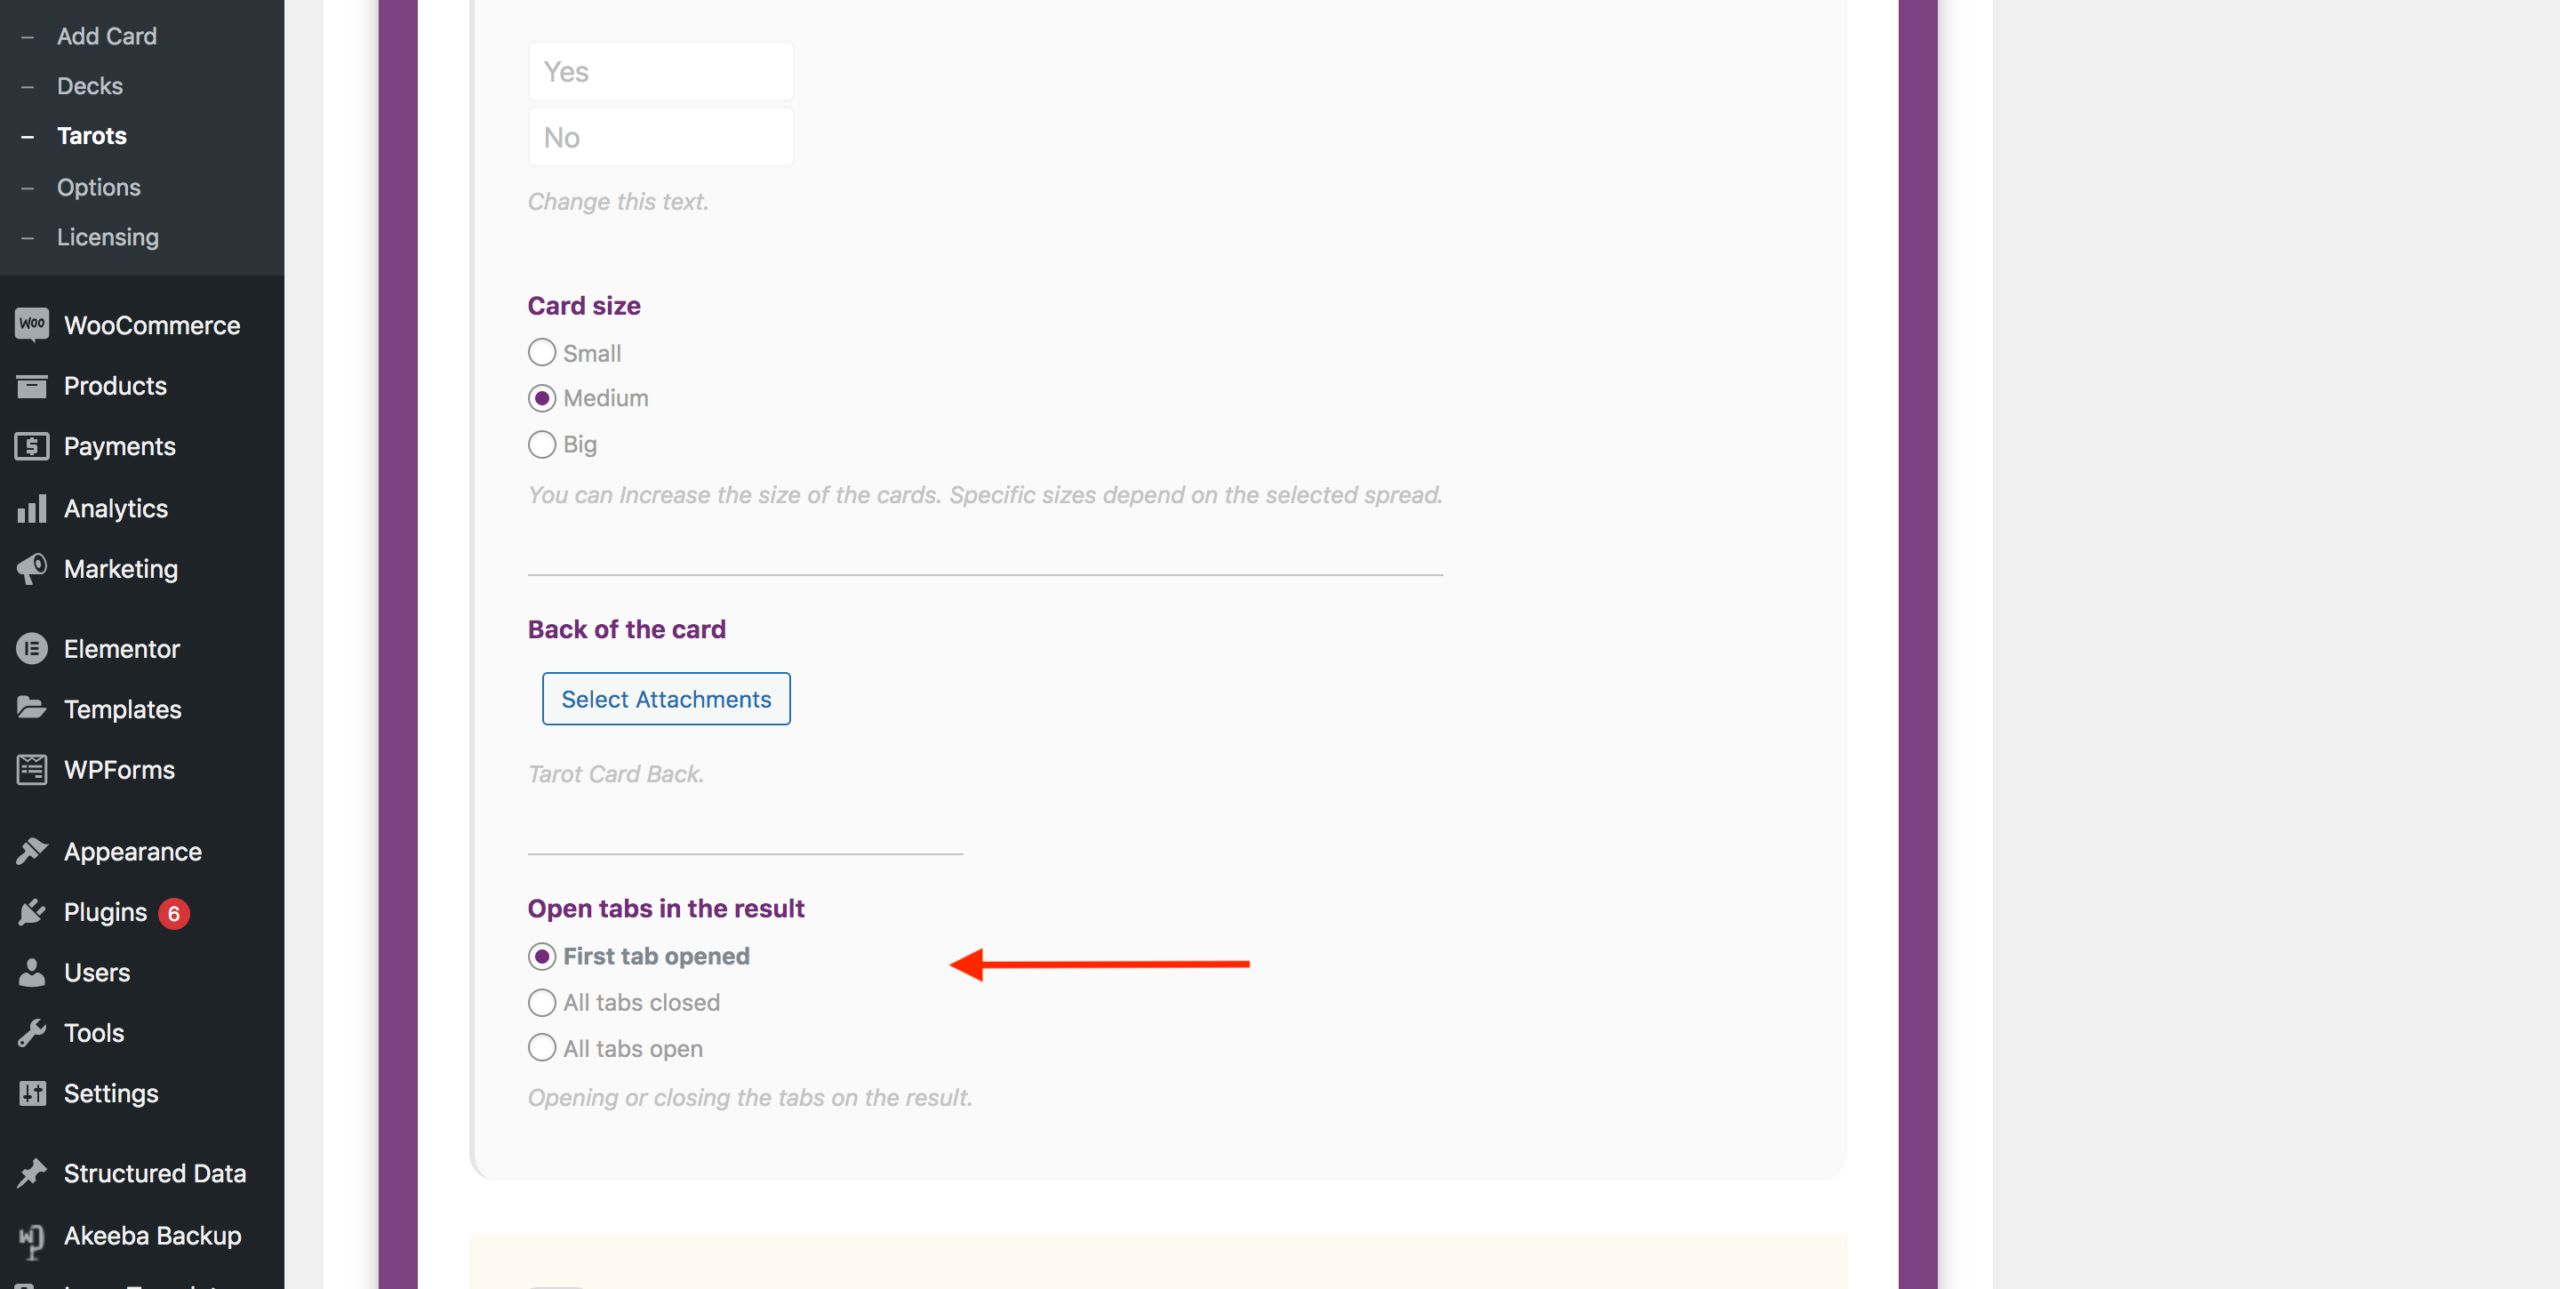
This option allows you to specify the appearance of the tarot reading result – see images below:
Show Positions
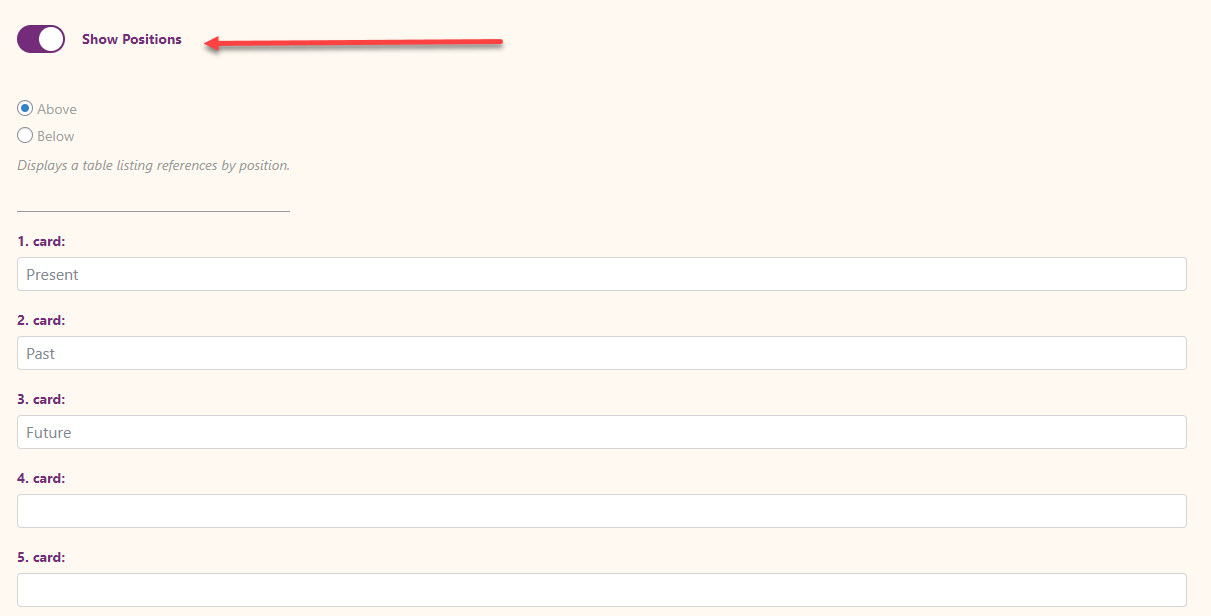
Toggle on or off to show the label for each card position.
Position Location & Labels
If “Show Positions” is toggled on, select whether you want the position label to display above or below each card (1). You can then insert your own label for each position (2).
CHANGE TEXTS
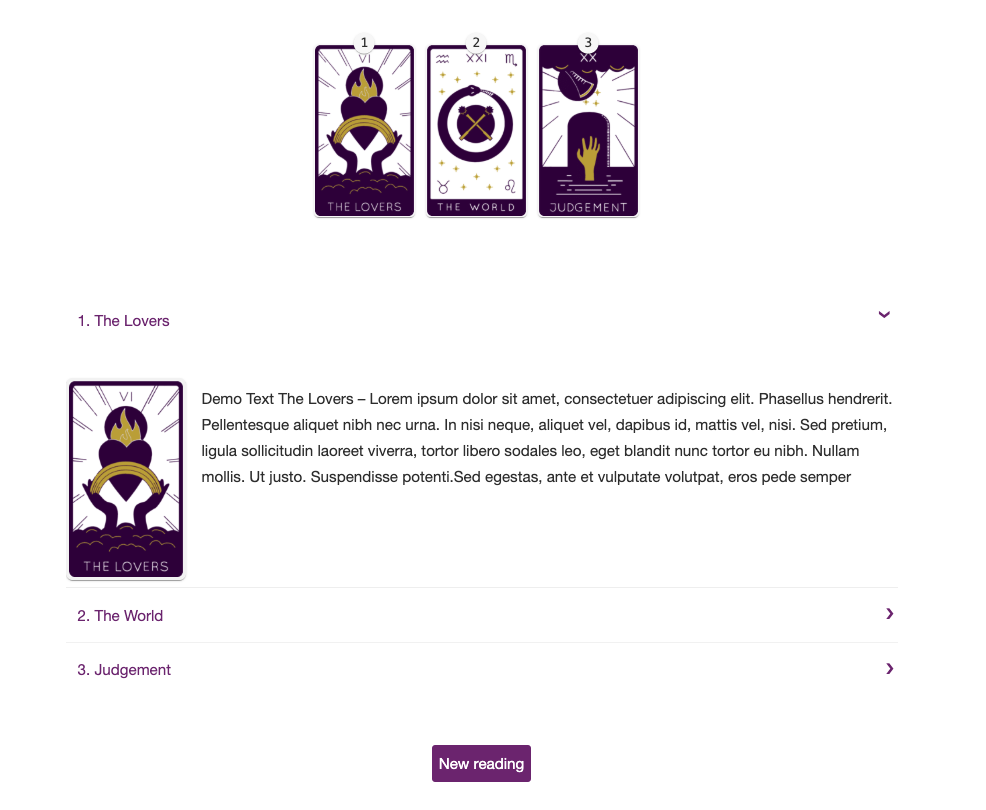
The options in the “CHANGE TEXTS” section allow you to change the default text for each label in the tarot reading. If you don’t want a label to appear, just leave that option blank. Refer to the image below for the front-end view of a tarot reading:
Title
Enter the desired title text to be displayed for your tarot reading.
Subtitle
Enter the desired subtitle text to be displayed for your tarot reading.
Position text

Enter the desired positions text to be displayed for your tarot reading.
Start button text
Enter the desired start button text to be displayed for your tarot reading. Will only display if you have selected the “Push start button” option in the Start section.
Get a new reading text button
Enter the desired new reading button text to be displayed for your tarot reading.
Shuffle text
Enter the desired shuffle button text to be displayed for your tarot reading. Will only display if you have selected the “Horizontal Shuffle” option in the Card Selector section:
COLORS
The options in the “COLORS” section allow you to change the default colors in the tarot reading. Refer to this image of the front-end view of a tarot spread for reference:
Title color

Sets the tarot reading main title color. To change the color:
Option 1 – Click “Select a color” and chose the color you want.
OR
Option 2 – Paste in the hex code of your desired color.
Subtitle color

Sets the tarot reading subtitle color.
Button background-color
Sets the tarot reading button background color.
Button Text Color
Sets the tarot reading button text color.
Title color in the result
Sets the tarot reading result title color:
Background color
Sets the background colour for the reading.
Background image
Allows you to select or upload an image for the background of your tarot reading. You may have to experiment with cropping your image to achieve your desired appearance. Click the pixabay.com link to browse royalty-free images that you can use.
Mix – Color Overlay
Determines the blend between the background color and the image.
The overall effects of these settings are seen on the front-end:
SPACE
Refer to this image to understand the spacing settings available in Tarokina Pro:
Tarot Margin Top
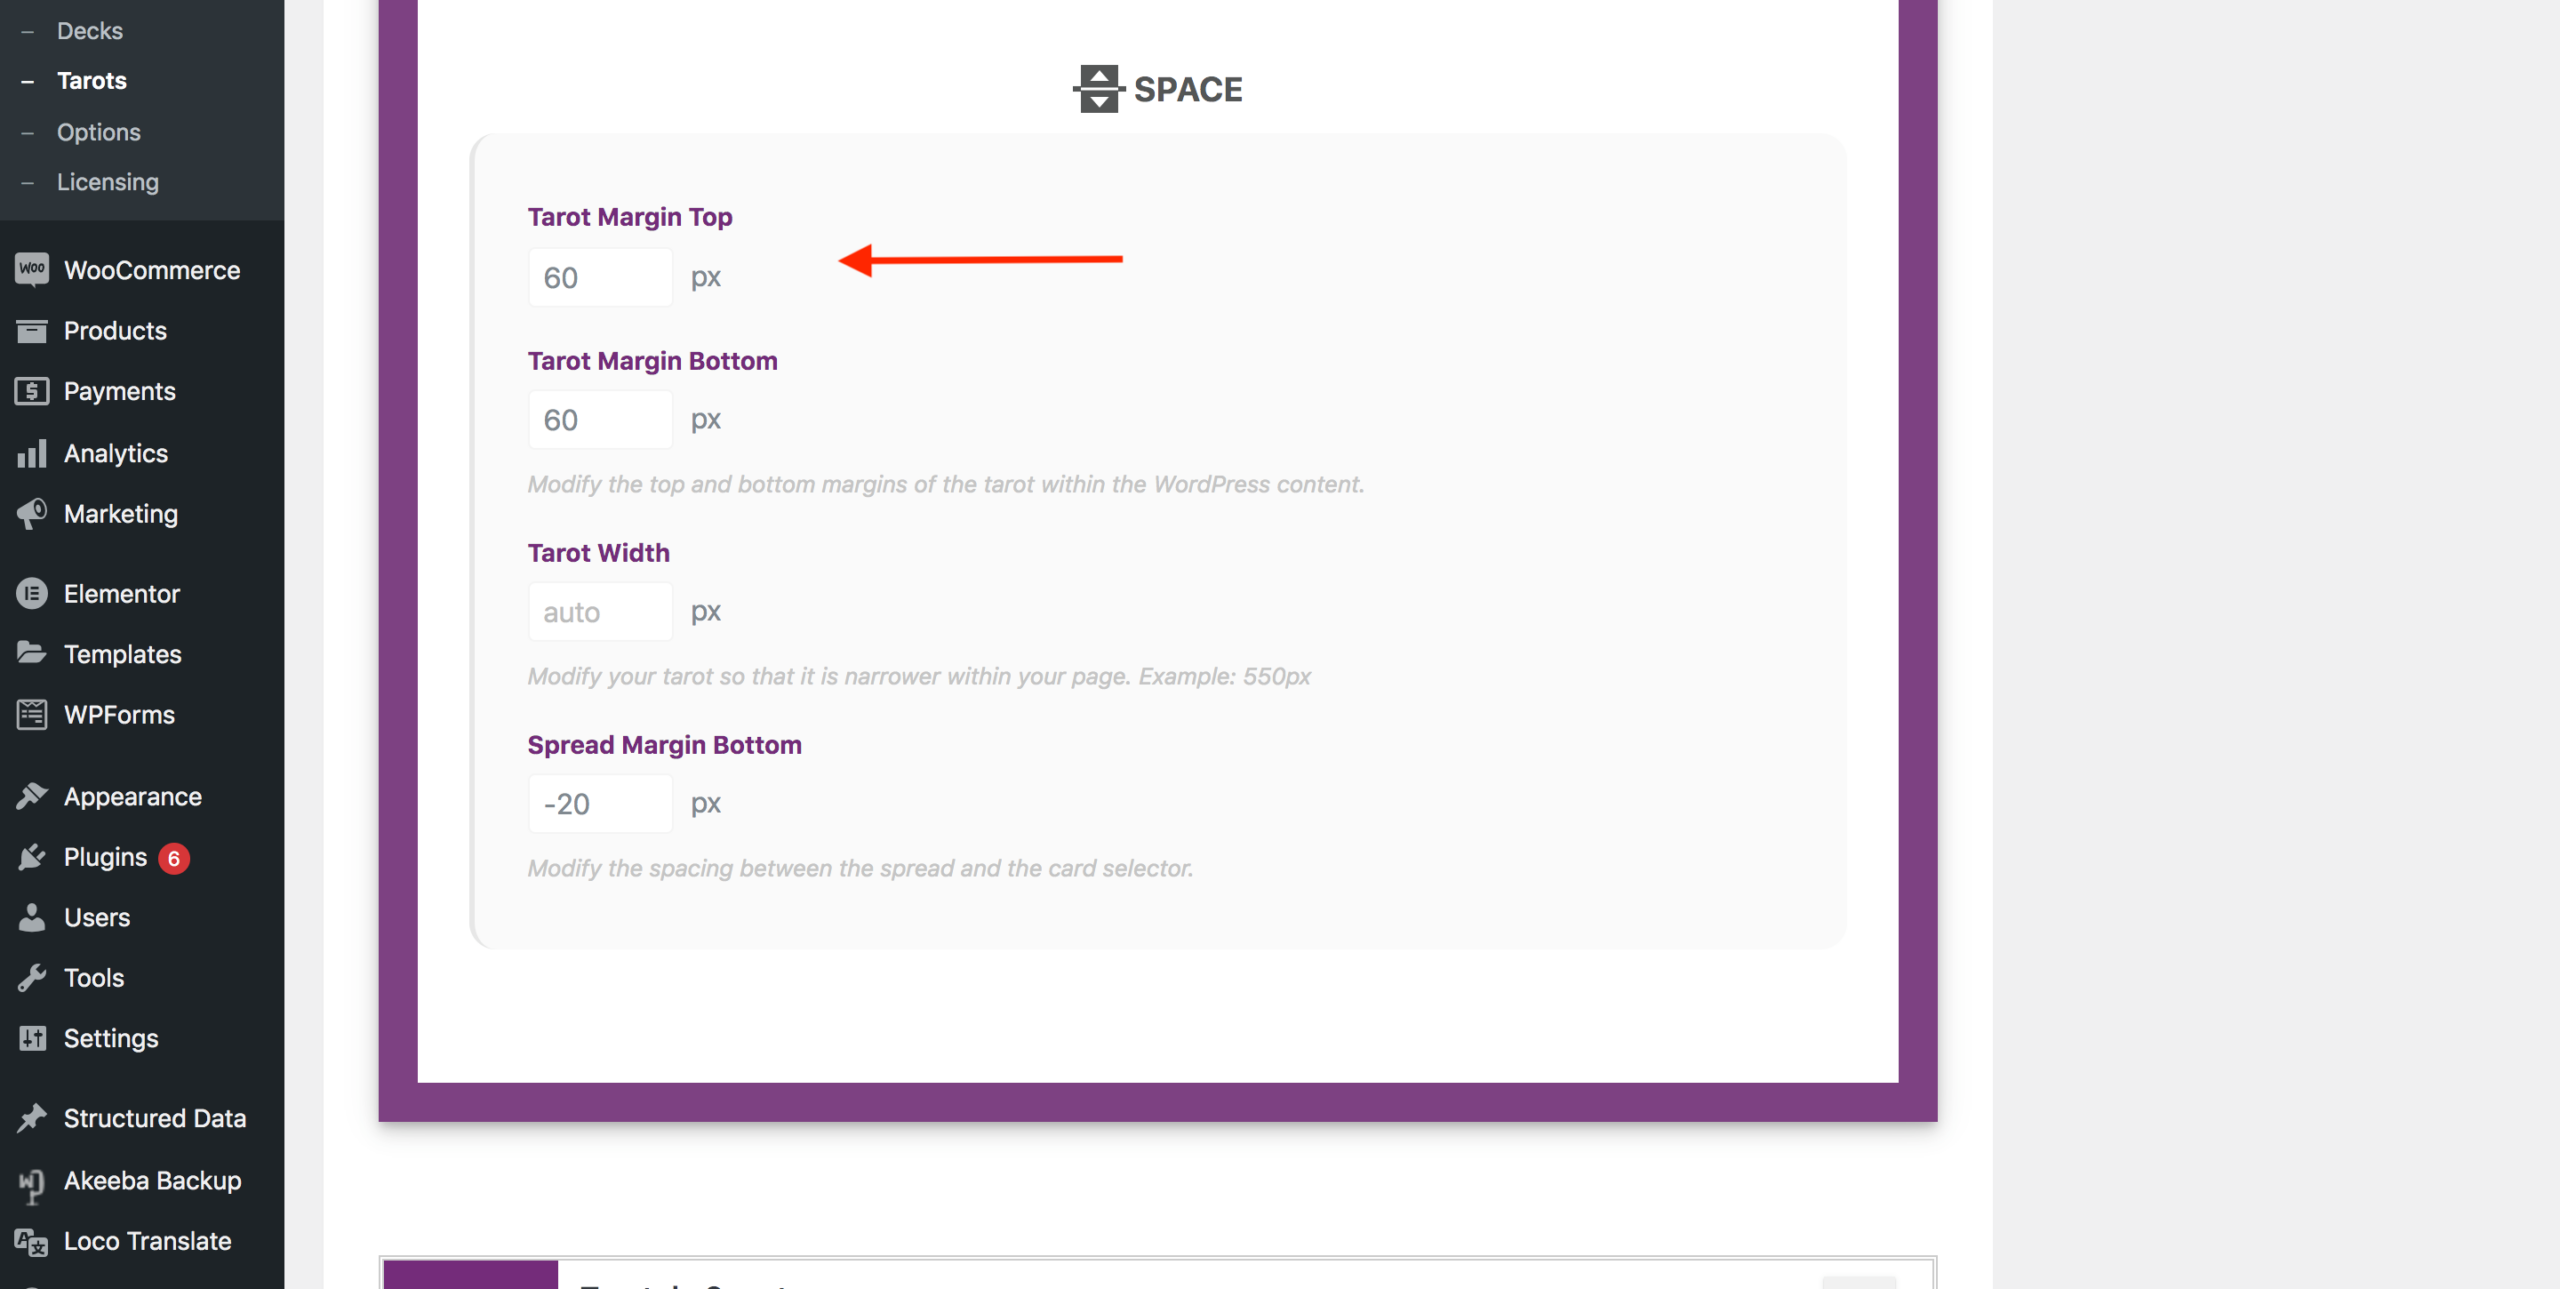
Sets the space between the top of the tarot reading background image and the main WordPress container.
Tarot Margin Bottom
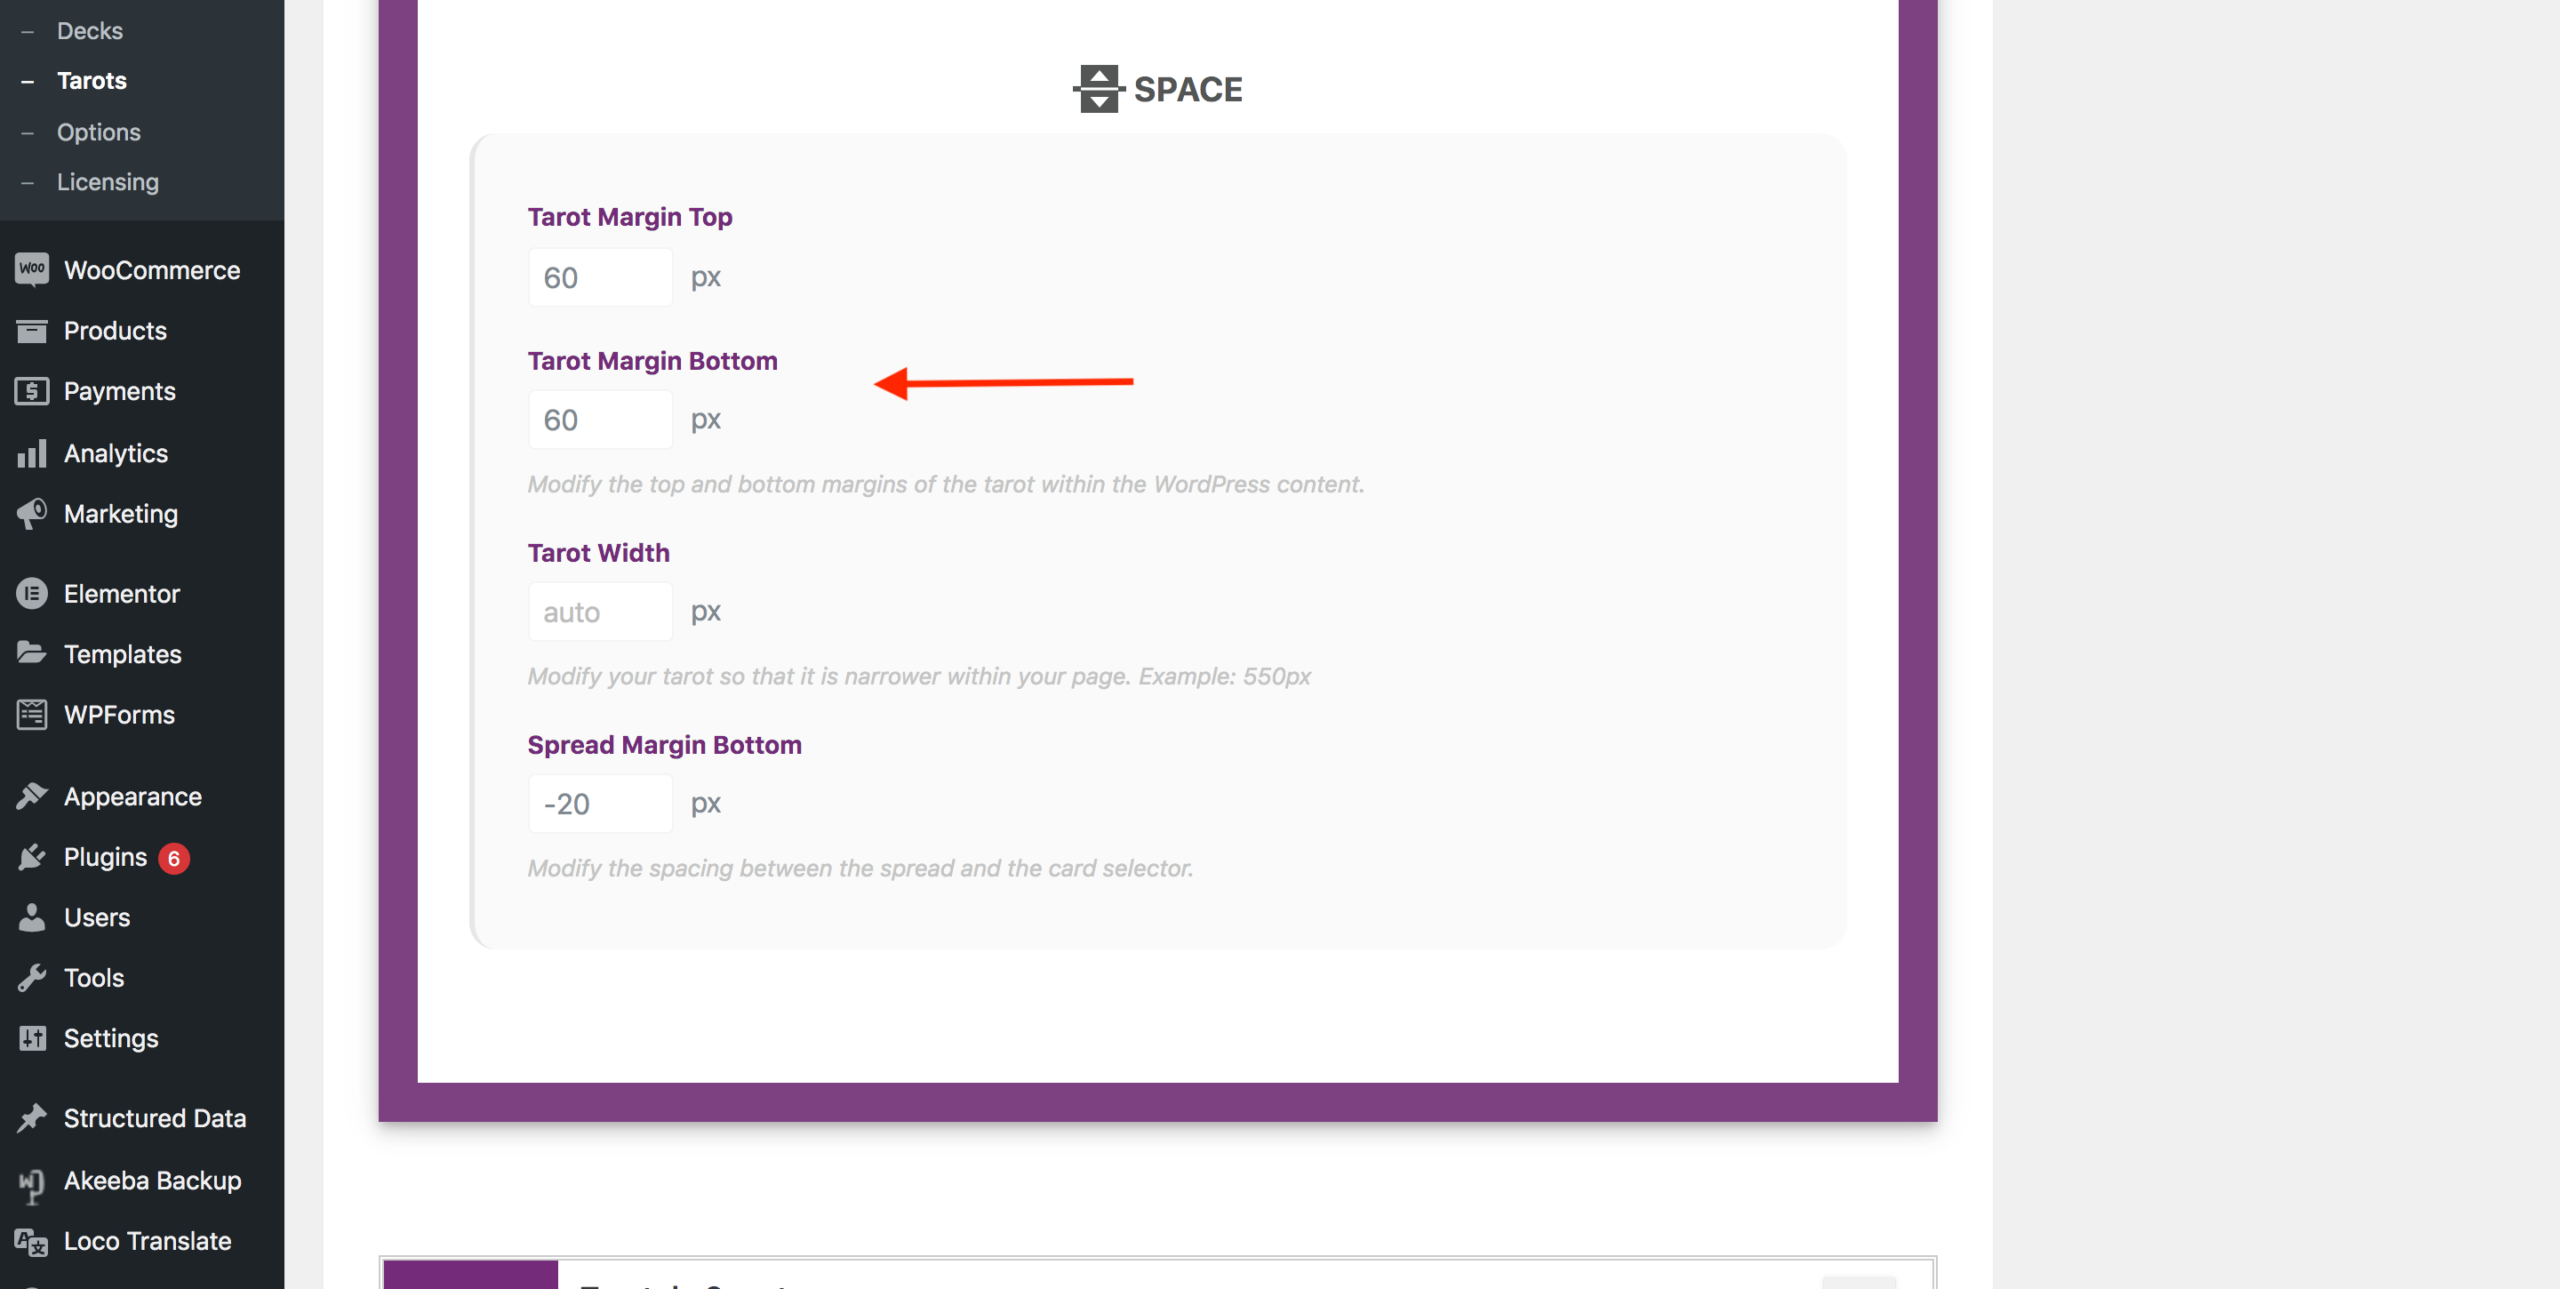
Sets the space between the bottom of the tarot reading and the main WordPress container.
Tarot Width
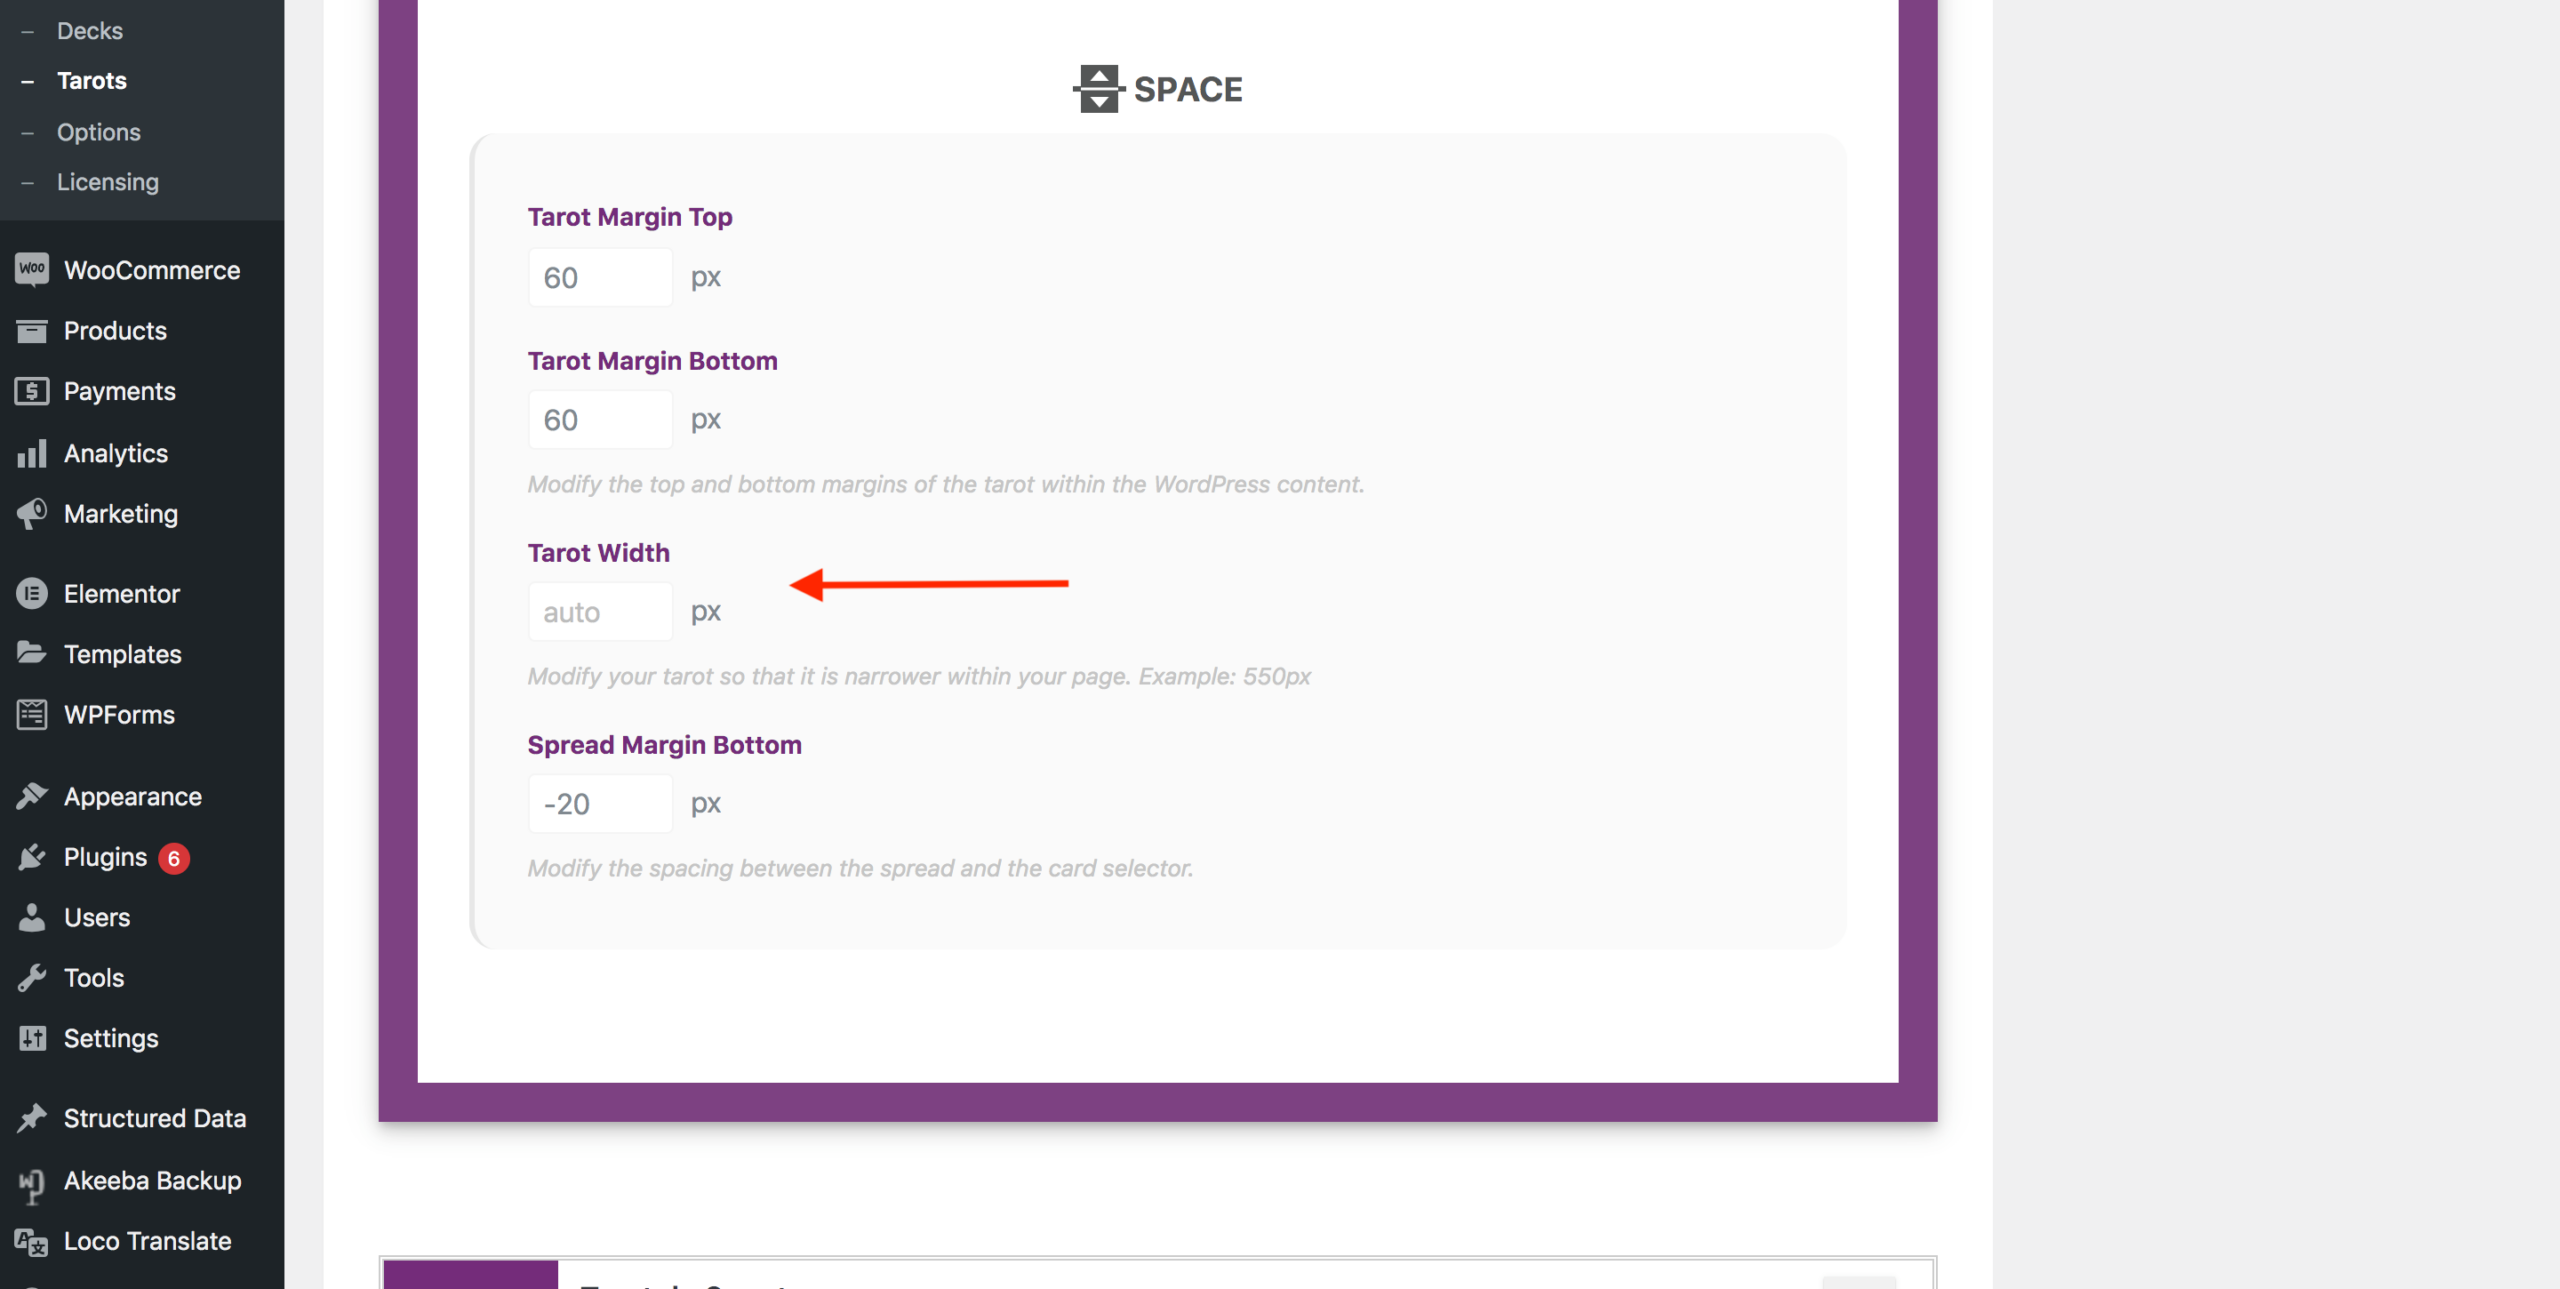
Sets the total width of the tarot reading background image. Will be centred within the main WordPress container.
Spread Margin Bottom
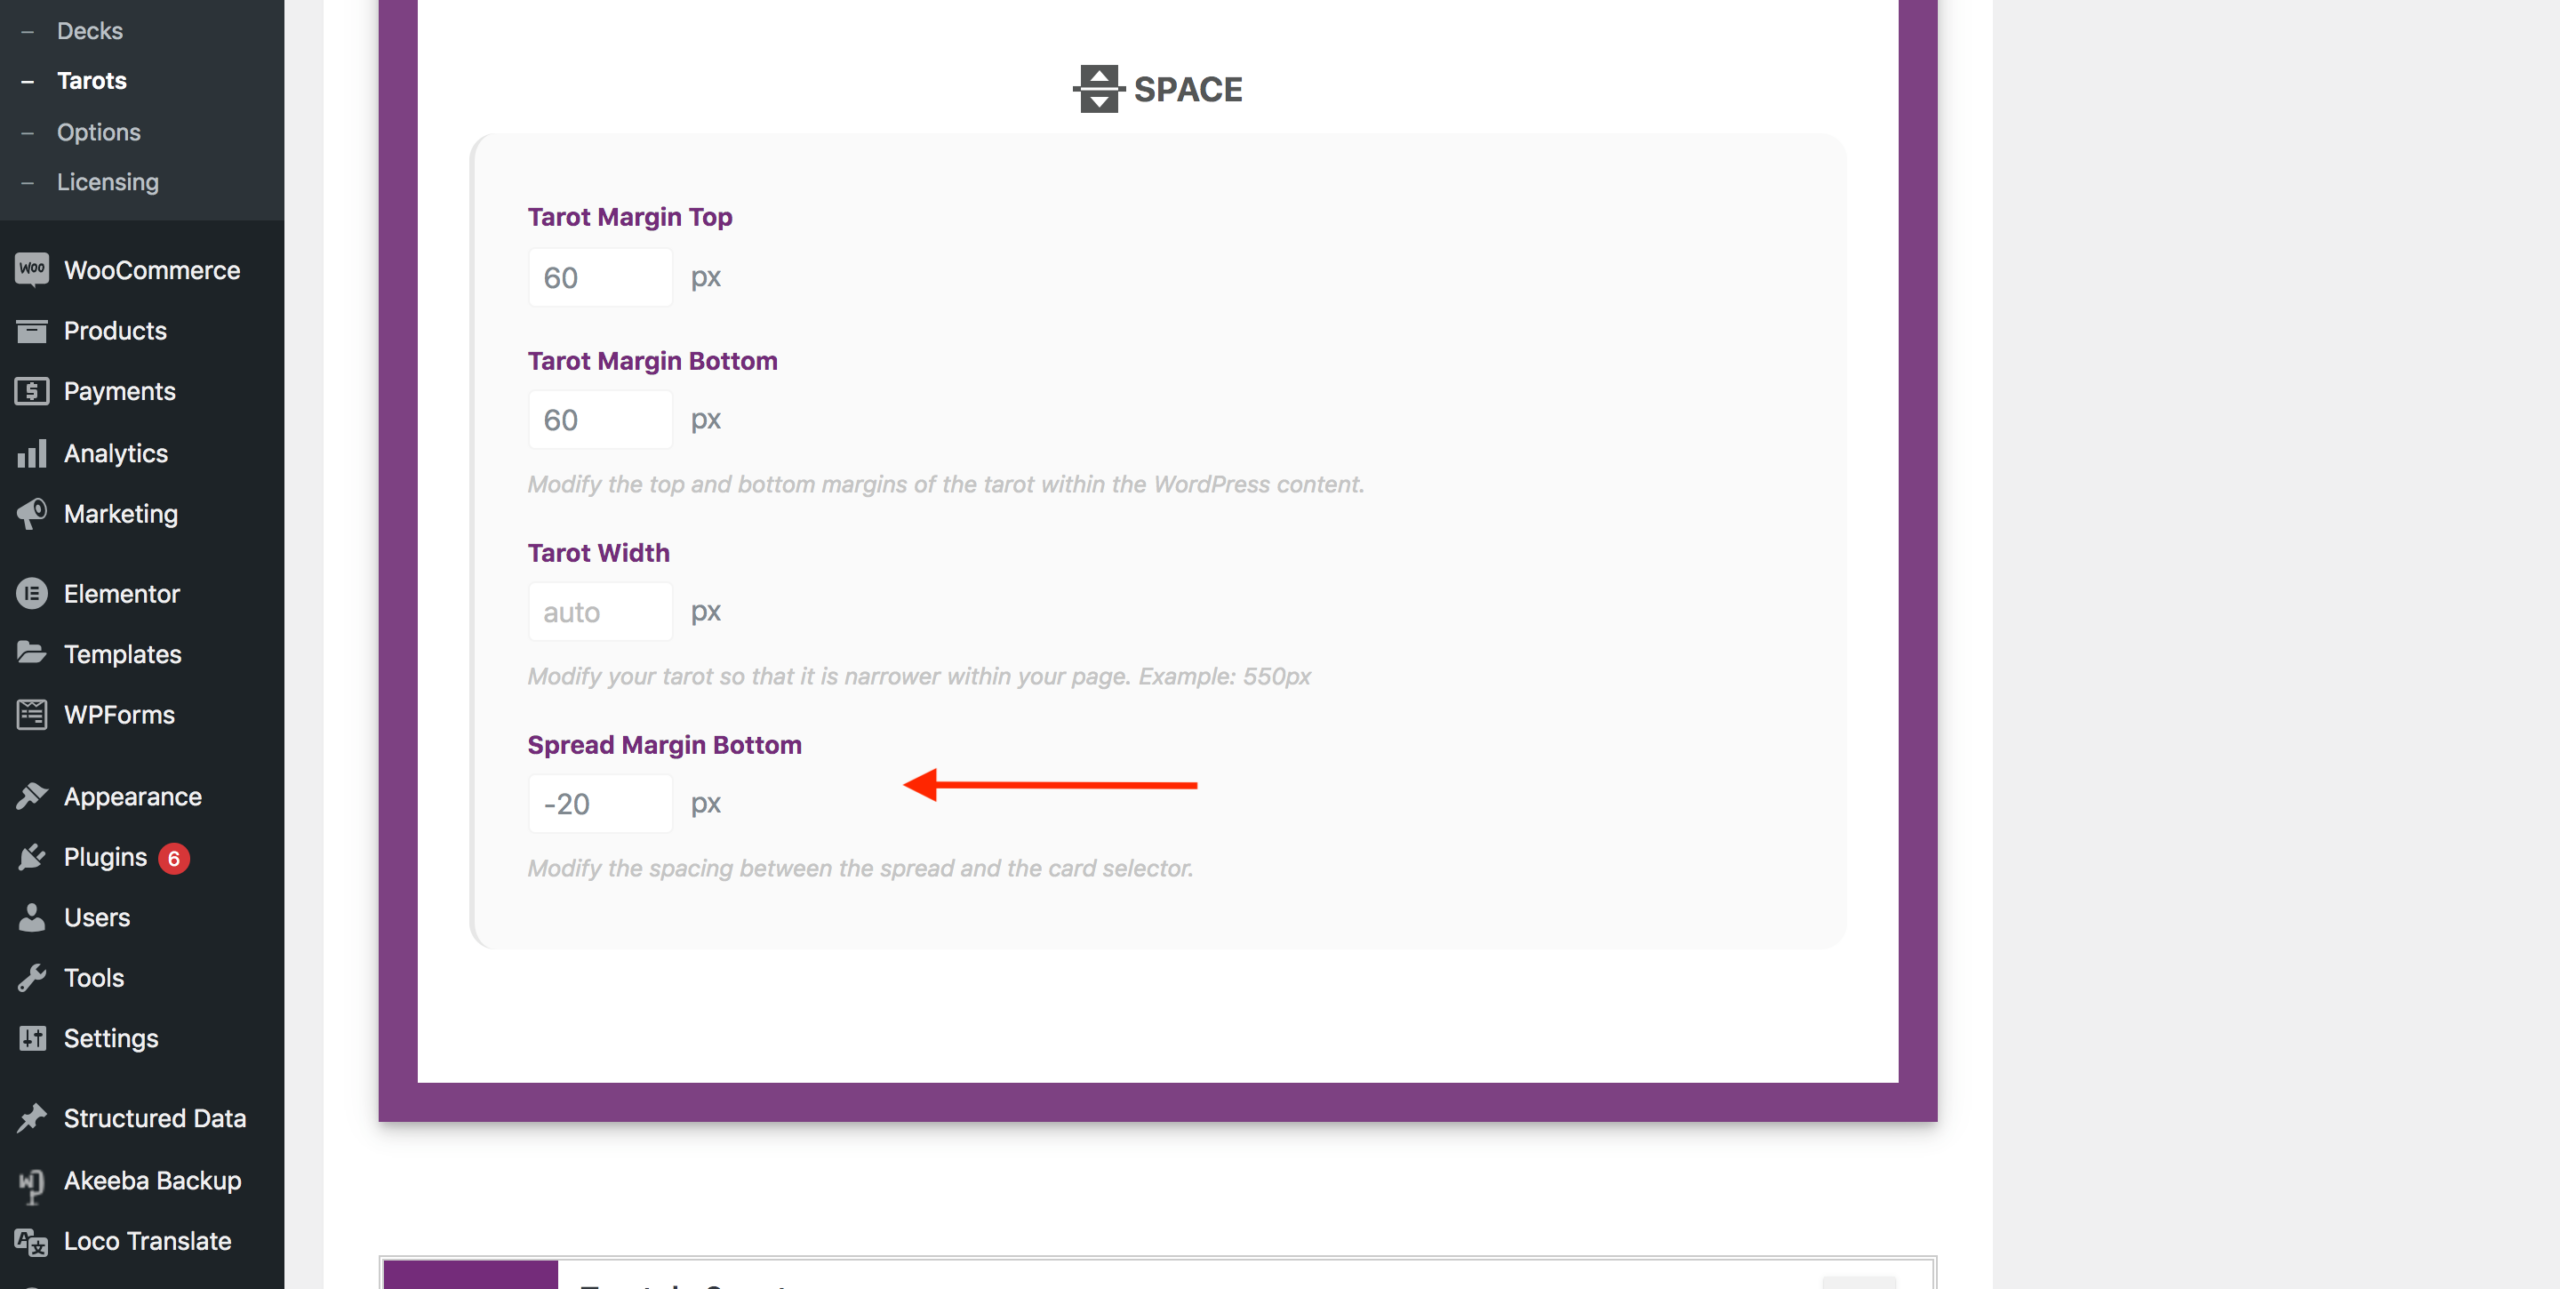
Sets the space between the bottom of the tarot reading background image and the top of the displayed cards or interpretation.


